1.Download the Excel template file here.
2. Open the Excel file.

Overview of Excel fields for Vendor:
VendorName: The name of the vendor. (example: Prisme Inc.)
VendorAlias: The alias of the vendor. (example: PRSM)
Address: The street address of the vendor. (example: 538 Johnson Street)
City: The city in which the vendor is located. (example: Coquitlam)
ProvState: The province or state in which the vendor is located. (example: British Columbia)
PostalZip: The Postal Code (Zip Code) of the vendor. (example: V3C 5J8)
Country: The country in which the vendor is located. (example: Canada)
Phone1: The phone number of the vendor. (example: 604-724-8358)
Phone2: The second alternative phone number of the vendor. (example: 778-234-7274)
Fax: The fax number of the vendor. (example: 526-326-7245)
Email: The email address of the vendor. (example: testemail@email.com)
Website: The website of the vendor. (example: www.testwebsite.com)
PurchasingTerms: The purchasing terms with the vendor. (example: Net 30)
ReturnPolicy: The return policy of the vendor. (example: 15 days)
QuantityRestrictions: Quantity restrictions associated with purchasing from the vendor. (example: 5)
AccountNumber: The account number with the vendor. (example: 6234762367)
Notes: Any optional notes on the vendor. (example: This is a note)
ContactName: The contact name associated with the vendor. (example: John)
ContactPhone 1: The phone number of the contact associated with the vendor. (example: 603-762-7247)
ContactPhone 2: The second alternative phone number of the contact associated with the vendor. (example: 722-724-6234)
ContactCellPhone: The Celluar phone number of the contact associated with the vendor. (example: 512-641-7383)
ContactFax: The fax number of the contact associated with the vendor. (example: 612-725-7234)
ContactEmail: The email of the contact associated with the vendor. (example: examplecontactemail@email.com)
3.Save the excel file
4. Log into WooPOS and then access the Vendors menu.
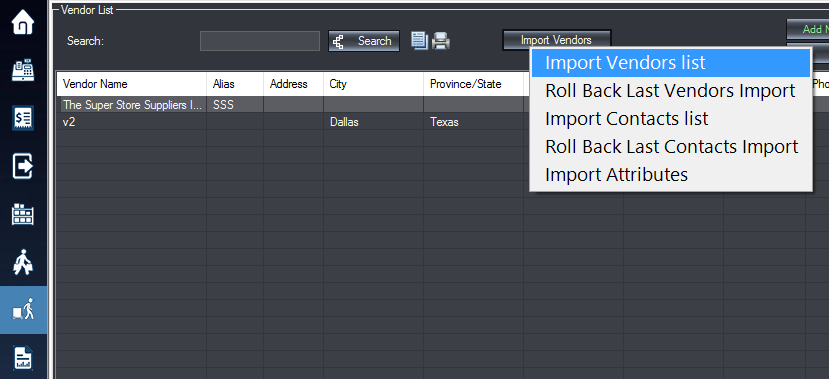
5. Select Import Vendors and from the drop down menu that appears select Import Vendors List
6. Select VendorsImportTemplate
![]()
8. Overview:
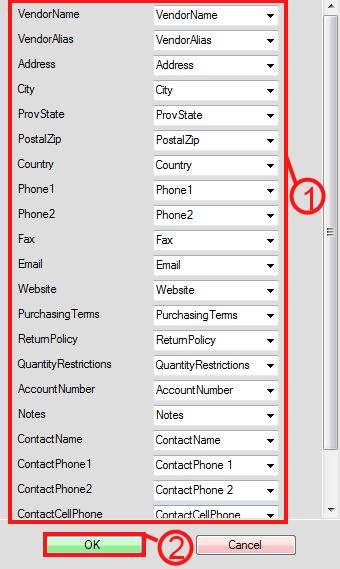
Step 1: Ensure that the fields on the left match the fields on the right identically.
Step 2: Select OK to proceed with the import.
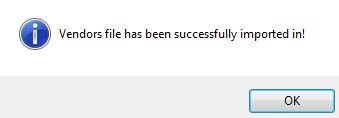
9. A prompt will appear notifying you of a successful import.
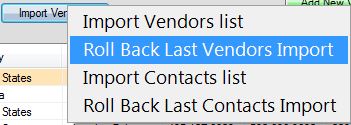
10. If you want to roll back the changes made, access the Vendors menu again and after selecting the Import Vendors option, from the drop down menu select Roll Back Last Vendors Import.
Note: To import to update existing customers you must match the vendor name and alias values.