Some hints to use when designing your own labels:
Printing Attributes on a Label
Put one of these in databaseFieldSpecial:
dbo.getAttribute(‘Skus’,sku,’AttName’)
dbo.getAttribute(‘Customers’,convert(varchar,CustomerStoreID)+’-‘+convert(varchar,CustomerID),’AttName’)
Change AttName to the actual name. Use N (National language character set) in front of attribute name for non-English characters.
dbo.getAttribute(‘Skus’,Sku,N’Płeć’)
Printing Current Date
convert(varchar,getdate(),107)
this will return Sep 22, 2014
Click Here to learn about changing the date format.
Misc
One of your first steps should always be to set your label height and width (in inch) to match the actual labels you are using. When measuring for labels, please add the gap/margin between labels. Make sure you don’t have any objects currently selected (click blank area), then go to the right side menu and set the values for labelSize_Height and labelSize_Width to match your labels.

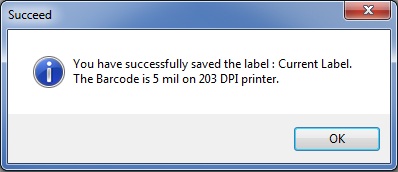
Remember that for your barcode to be properly scannable, it must be no less than 10 mil. You can see your barcode size each time you press Save
This barcode is too small and might not scan properly.
If you are having trouble getting your barcode to fit in your label area, try switching to a smaller barcode type, such as Code128 or UpcE. Select the barcode on your label (or create a new one) and then use the right side menu to change the barcodeType field.
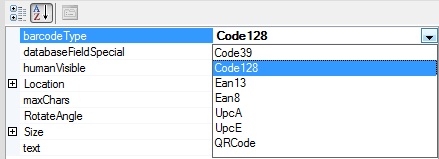
Code 39: Uses SKU code by default. Consists of uppercase letters (A through Z), numeric digits (0 through 9) and a number of special characters (-, ., $, /, +, %, and space).
Code 128: Uses SKU code by default. Can use the entire ASCII library.
Ean13: Uses numbers only. Must be 13 Digits. If it doesn’t match that format it will use a static number that will not be recognized.
Ean8: Uses numbers only. Must be 8 Digits. If it doesn’t match that format it will use a static number that will not be recognized.
UPC-A: Uses numbers only. Must be 12 Digits. the system will fill the rest with 0 if less than 11. If more than 11 characters, it will cut them off.
UPC-E: Uses numbers only. Must be 6 Digits. the system will fill the rest with 0 if less than 6.
QR codes: Uses 0–9, A–Z (upper-case only), space, $, %, *, +, -, ., /. limit of 4,296 characters.
If there is no lookup, the system will generate and save that lookup.
If you select a text box, an icon will appear on the right side menu which will open the font window with options for formatting your text.

You can rotate text, images, and lines by using the RotateAngle field and entering an angle.
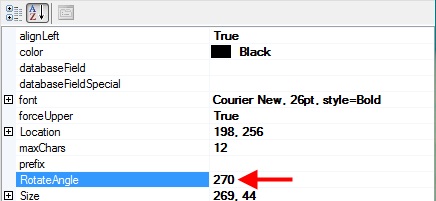
Set the angle to 90 or 270 to rotate your object onto its side.
Make sure that there is enough space between your objects and the edges of the label, as the edges may become damaged after being applied to your stock.
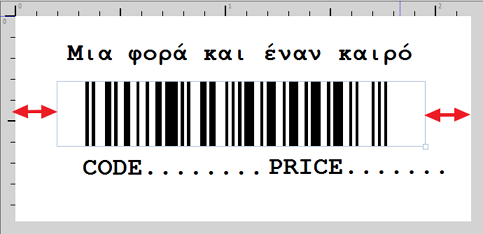
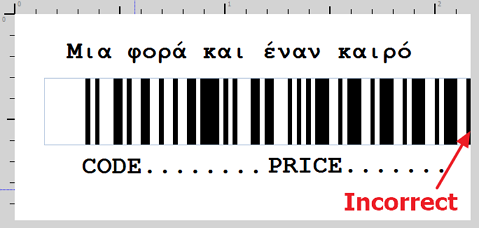
The barcode on this label fits into the area but is too close to the sides and may become unreadable due to wear or damage. The price field has space on each side and is positioned correctly.
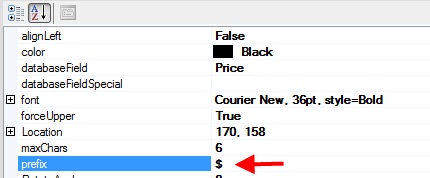
You can save space by determining the maximum amount of characters each text object would need and then setting the maxChars field. For example, if your items are never priced higher than $999.99, you can limit your price field to only 7 digits.
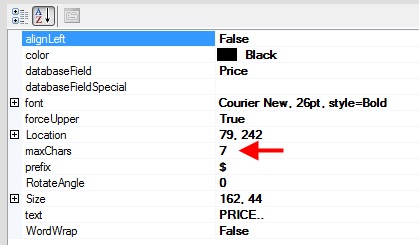
Remember to include prefixes and decimal symbols when determining the number of characters needed for your fields.
Make sure to include a currency prefix on your price field.
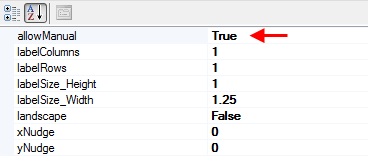
If you would like to be able to fill in the label’s fields manually before printing, be sure to select the blank canvas and set the allowManual setting to “True”.

During the printing step you can now manually enter your label’s information. (See: Manually Entering Label Info)
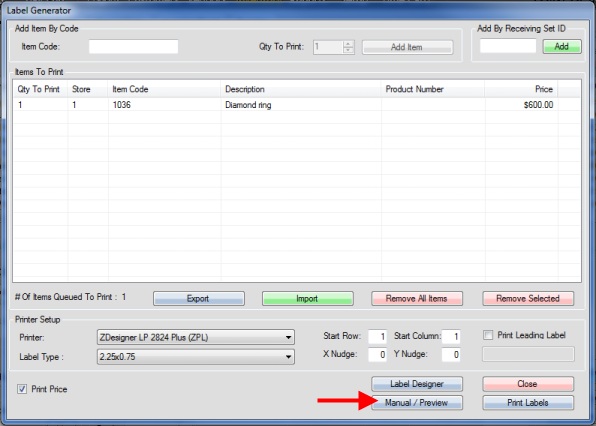
Once you are happy with your label design, be sure to select a SKU and use the Manual Preview option on the label generator window to see how the label would look with information inserted. If printing a sheet of labels, hold CTRL+SHIFT keys before clicking Manual Preview to see how each label would show on a page.