This is for sales commission (spiff) purpose.
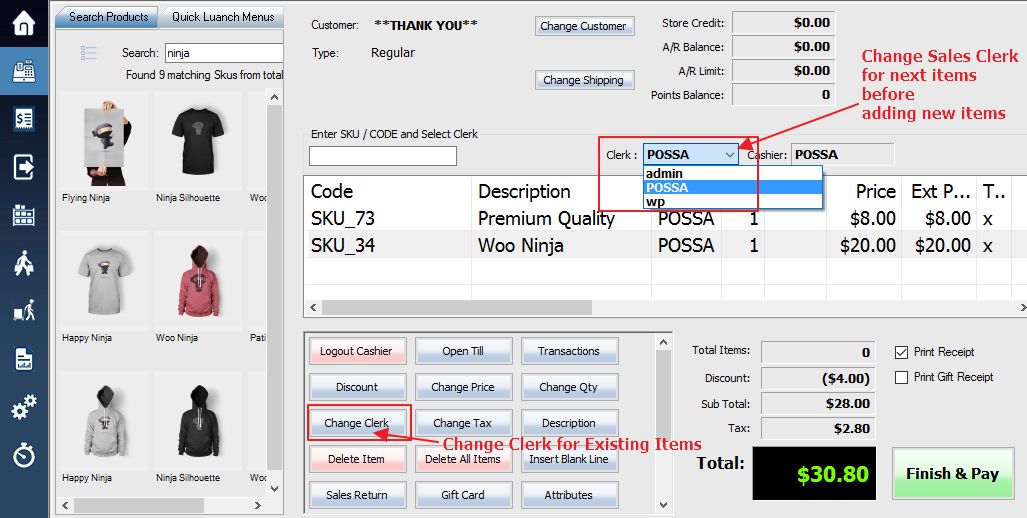
You can change the clerk(s) applied to some or all of the items in a transaction without having to log out the active clerk. First choose the item you wish to apply to the new clerk, then select the Change Clerk button located on the bottom menu. Alternatively you can simply use the F10 key.
This will bring up the Change Clerk window. To apply the changes to the selected item only, check the “For Selected Item Only” option. To instead apply the changes to every item in the transaction, check the “For All Items in this Transaction” option.
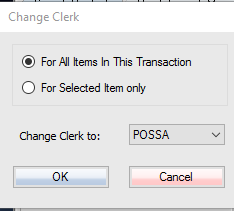
Select the “Change Clerk to” button to bring up a dropdown list of all employees within your store, and select the clerk whom you would like to apply to the selected item(s).
Once you have made your selections, press OK at the bottom of the Change Clerk window to apply your changes. The clerk that you have applied to the selected item(s) will appear on the transaction screen in the clerk column of the selected item. The selected clerk will also be displayed under the item(s) on the printed receipt.