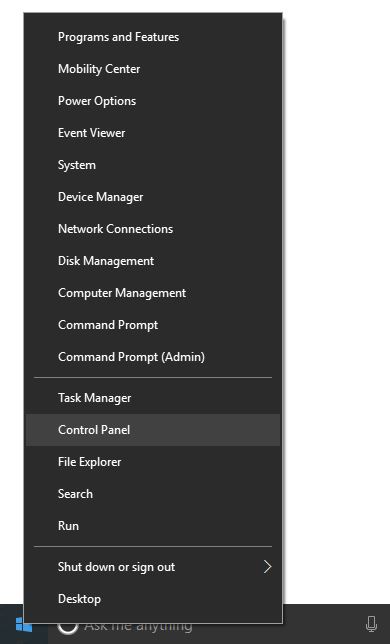
1. Right click the windows button in the bottom left of your task bar and click “Control Panel”
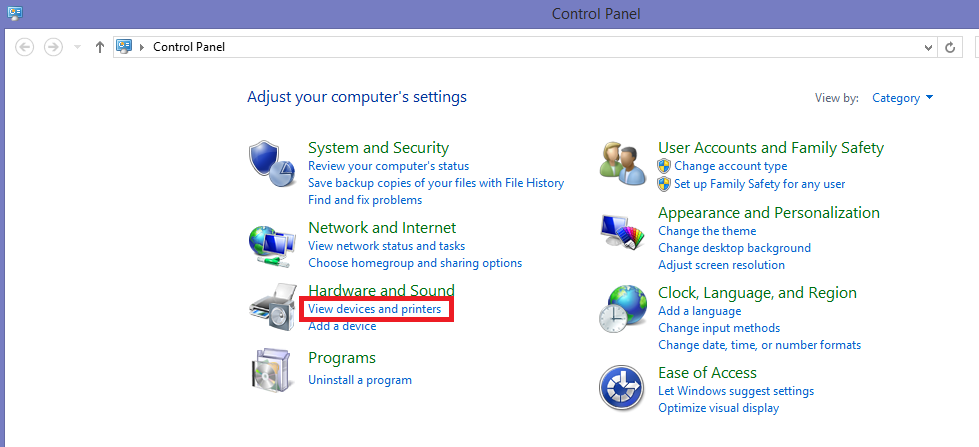
2. Select “View Devices and Printers” from the control panel menu
3. Right-click the printer you would like to change to default and select “Set as default printer”
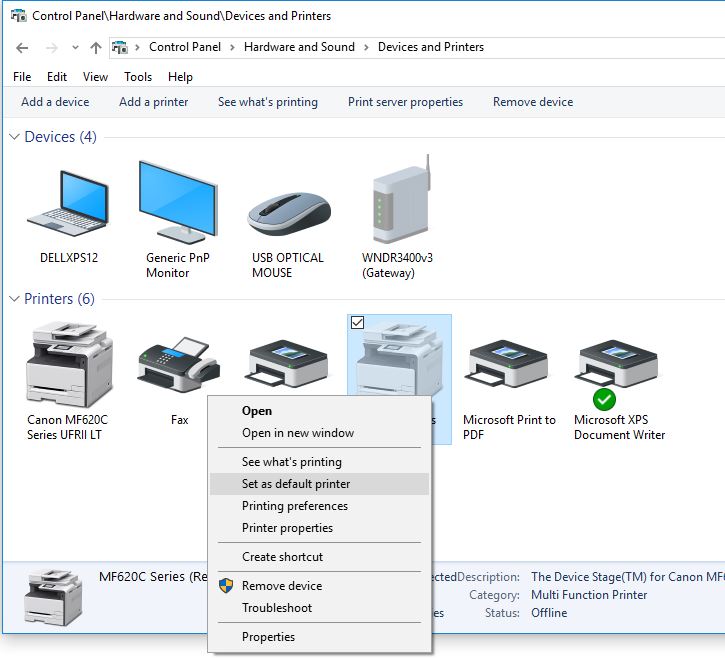
Please make sure do not set a receipt printer as default printer, as the reports will look squished.
4. Turn off “allow windows to manage my default printer” in Windows 10.
If your invoices or reports look squished when viewing them in WooPOS it could be that your default printer isn’t set to a full-size printer in windows. This could be because Windows 10 has a setting on called “let Windows manage my default printer” which changes the default printer of your computer to the last printer you used. This article outlines how to turn this setting off and ensure that your default printer is a full-sized printer.
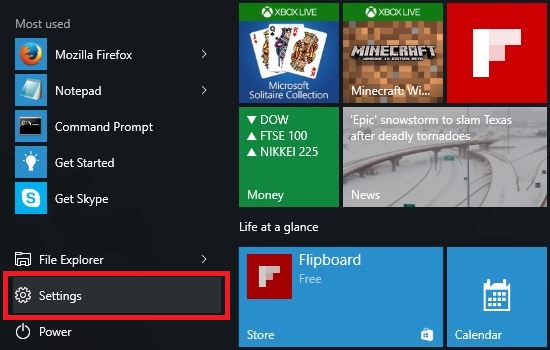
(1): Click on the windows button in the bottom left of your computer screen.
(2): The following box should pop up. Click on the “settings” button.
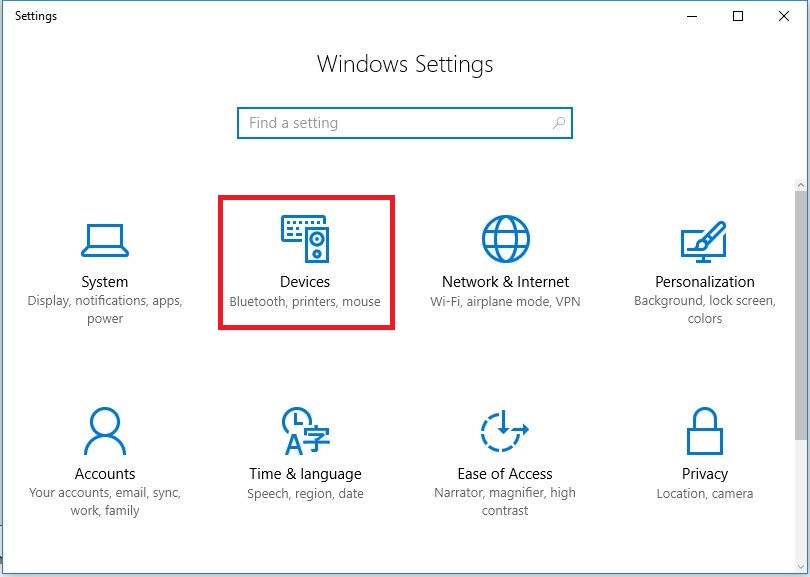
(3): Once you click settings, this box should pop up. Click “Devices”.
(4): Near the bottom there’s a switch called “let windows manage my default printer”. Make sure that it is switched off.
