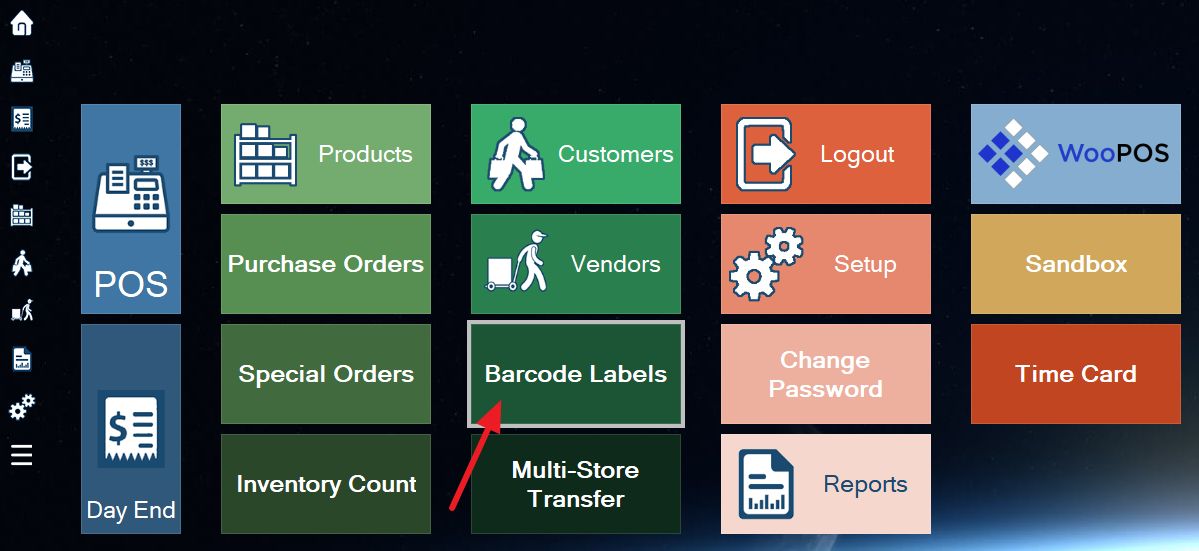
1. Click Labels from the home screen.
2. Overview of Label Generator:
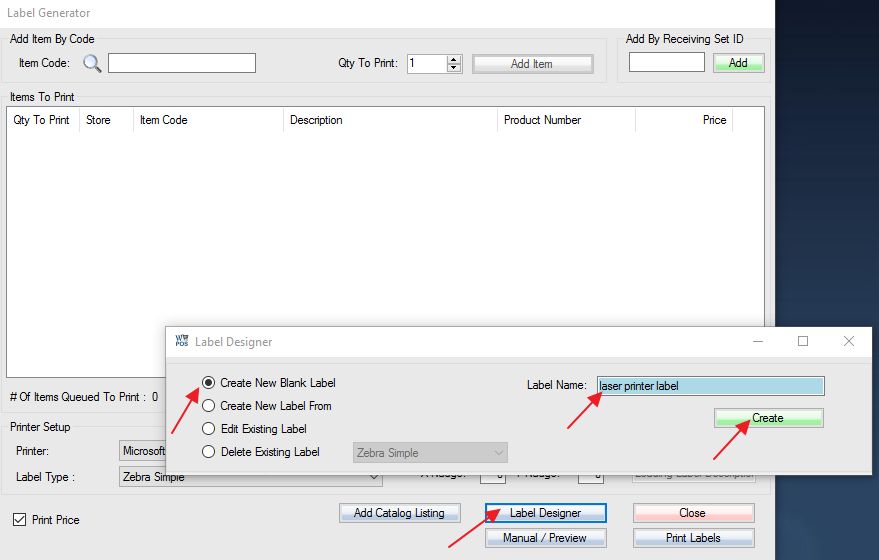
Step 1: Select the Label Designer option.
Step 2: In the window that appears, ensure the Create New Blank Label option is selected.
Step 3: Specify the desired name for your label.
Step 4: Select Create to proceed and edit the label.
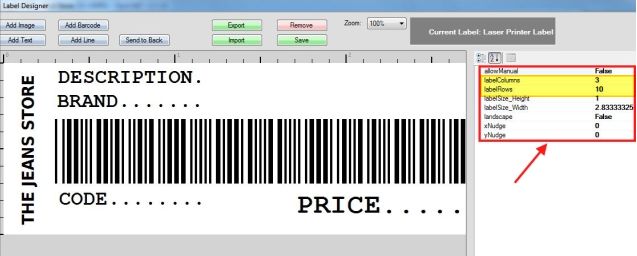
3. Overview of Label Designer:
To see further instructions for designing a label, see: Creating Labels
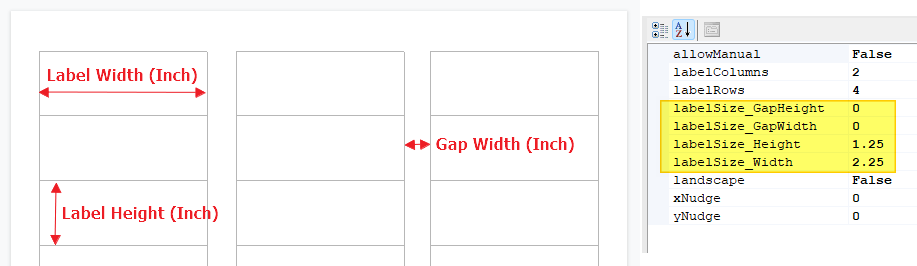
Click the blank area of the label to get the label properties screen on the right.
labelColumns: Specify the number of columns to fit into the page for printing labels.
labelRows: Specify the number of rows to fit into the page for printing labels.
labelSize_Height: Specify the height (in inch) of the label. When measuring, please add the gap/margin between labels.
labelSize_Width: Specify the width (in inch) of the label. When measuring, please add the gap/margin between labels.
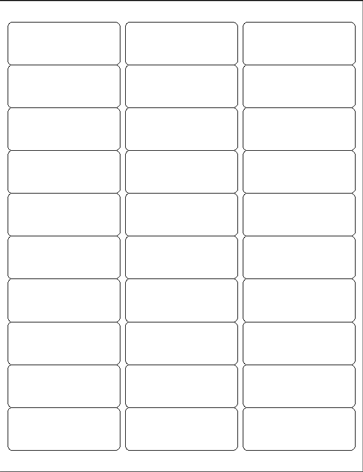
In this example, the labels will be printed on Avery 5160 3X10 label sheet.
4. Select Save in the top-center of the label designer window to finalize your label changes.
5. Overview of the Label Generator screen:
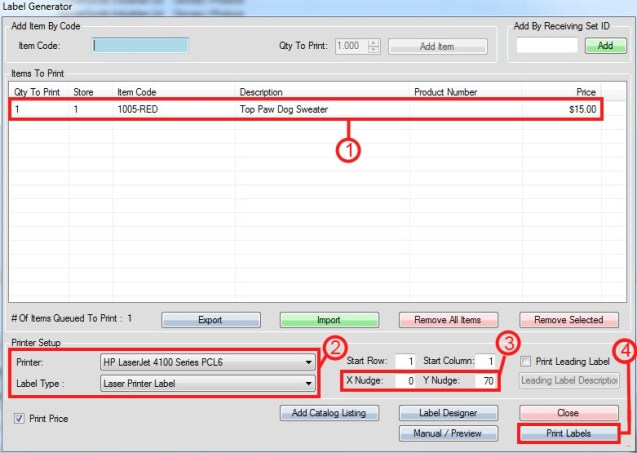
Step 1: Add SKU(s) to printer labels for.
Step 2: Select the printer you are using, and also the label you setup previously.
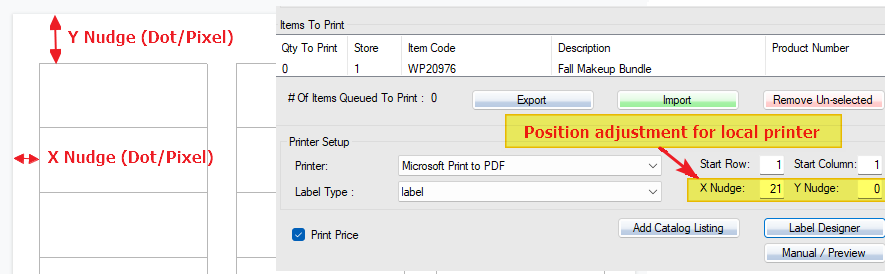
Step 3: Specify how many pixels to nudge down the page in order to align the labels for printing. (Positive numbers will nudge down, negative numbers will nudge up)
Step 4: Select Print Labels to print your labels from your laser printer. (Hold down the CTRL key and select this option to first preview your page before printing)
Label Size, Nudge, and Alignment
Label size and gap settings:
Nudge(Margin) adjustment:

If the printer resolution is 300 DPI, nudge 150 is half an inch.
Nudge(Margin) adjustment for the local printer only if you have more than one printer.
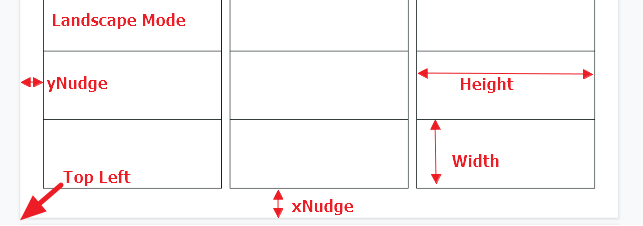
In the landscape(=true) mode, x/y and width/height are reversed.
 .
.
Tip: Do a test print first
Last but not the least, it’s recommended to do a test print first. If you want to avoid any issues in the future we strongly suggest that you run test prints before printing your whole series of labels.
Print first on a sheet of blank paper to check your design and alignment, and determine which direction to feed in your printer. You can place your labels sheet on top of your test print and check that everything is OK by transparency.