Creating quick launch buttons is a 2 step process:
**Note** You require administrative privileges to access “Setup Quick Launch”.
Step 1: Creating the button(s)
Quick launch buttons let you quickly add frequently sold items to a sale. To set up quick launch buttons, select the Quick Launch option from the POS/Sale screen.
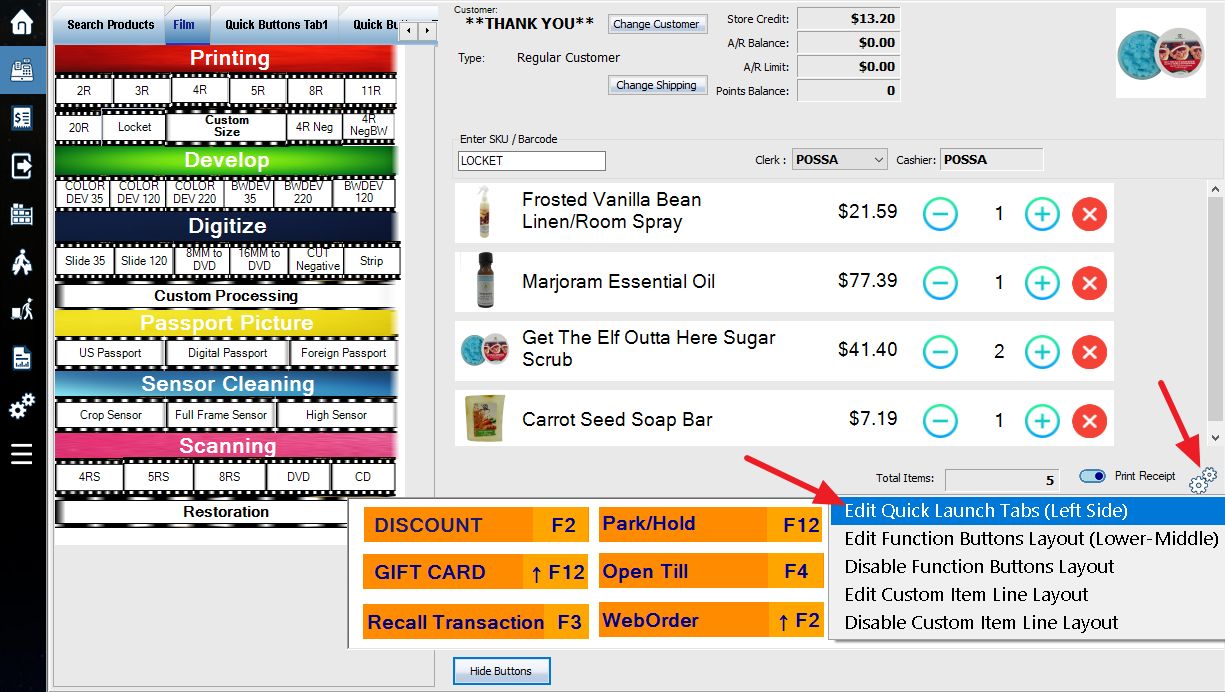
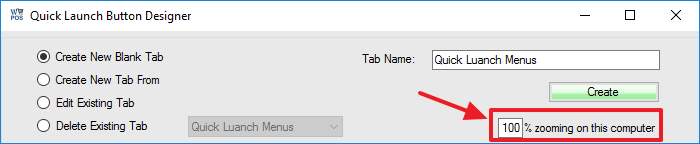
You will need to create a new tab for your buttons, enter a name into the field and press Create.
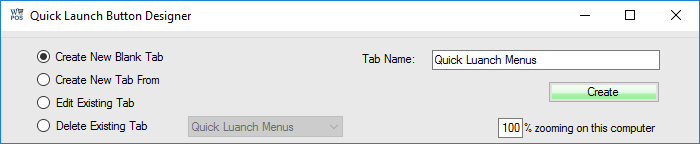
If you use the word “Main” as a tab name, it will show up as the default tab in the POS window. Instead of the Search Products tab.
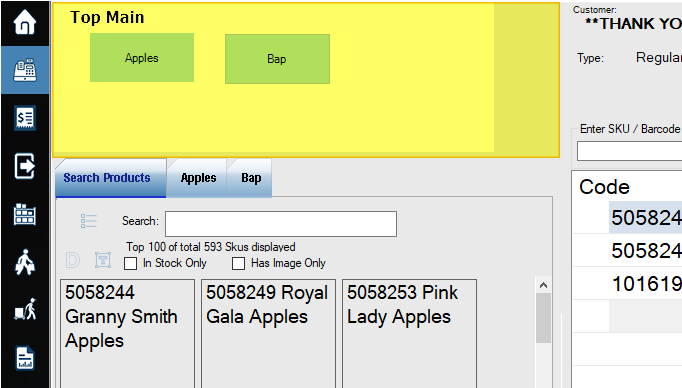
If you use the word “Top Main” as a tab name, it will show up as a separate window on the top.
The button designer window is split into two main parts. The various controls are on the right side, while the white blank canvas on the left is where you will be creating your buttons.
If you want the quick launch tab only shows on certain stores or computers, put store IDs or computer names (comma delimited) to the “displayInStoreIDs” field.
![]()
Press Add a Button and then click anywhere on the blank canvas to the left to add a new blank button. You can resize the button area by clicking and dragging the box on the bottom right corner of the button area. When you select the empty button, the menu on the right side of the page will change to a list of options for that button.
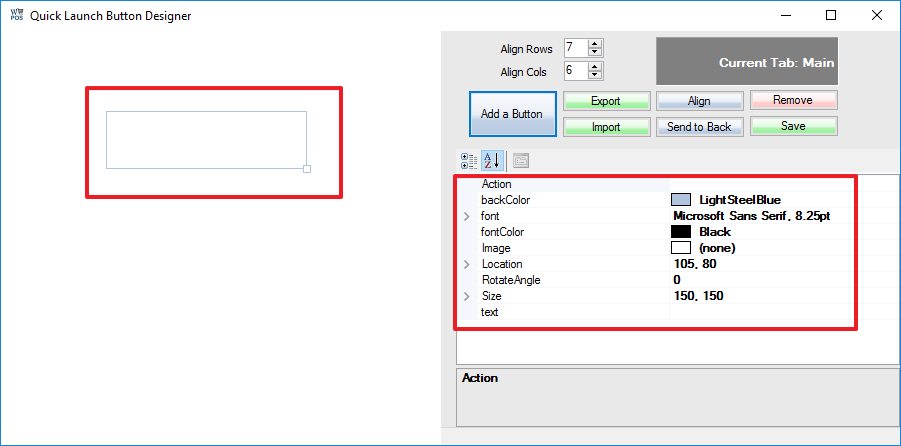
Action: Determines which action will occur when the button is pressed. (Quick Launch Button Options)
backColor / fontColor: Select the colour used for the button background and text.
font: click the  button in this field to bring up a menu for selecting font options
Image: Select an image from your PC to appear on the button.
Location, RotateAngle, Size: Options for positioning your button.
text: Which text will appear on the button.
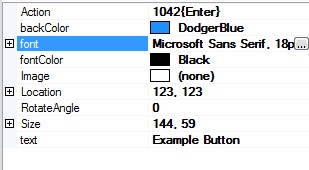
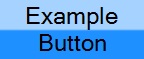
The options entered on the left will create the button on the right. When pressed during a sale, this button will automatically add SKU 1042 to the transaction.
Hold the CTRL key to select and move (use mouse and arrow key) multiple objects. Right-click to align objects. The Align button will help you line them up with each other automatically.

When creating a button that has letters in the SKU please use all capitals.
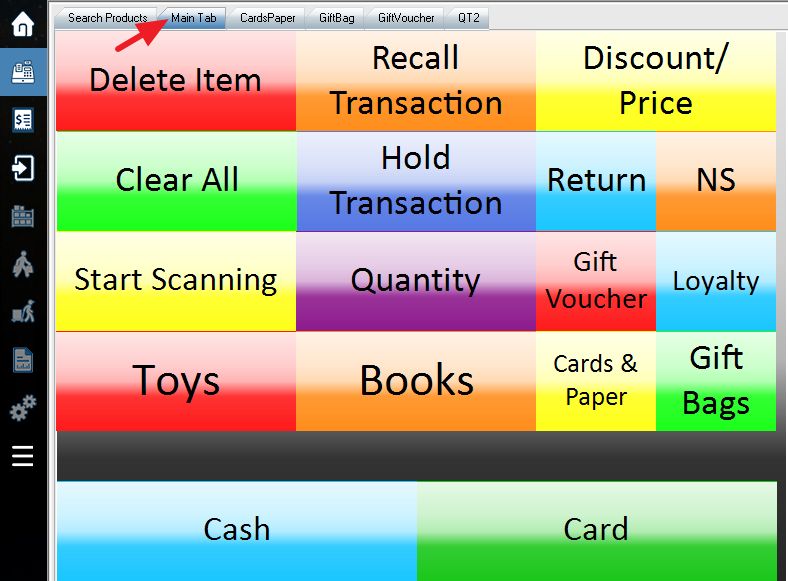
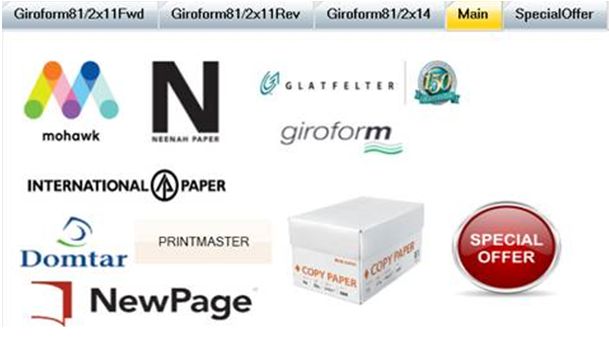
Once your quick launch buttons are complete, you can see the quick launch tab beside the Search Products tab.
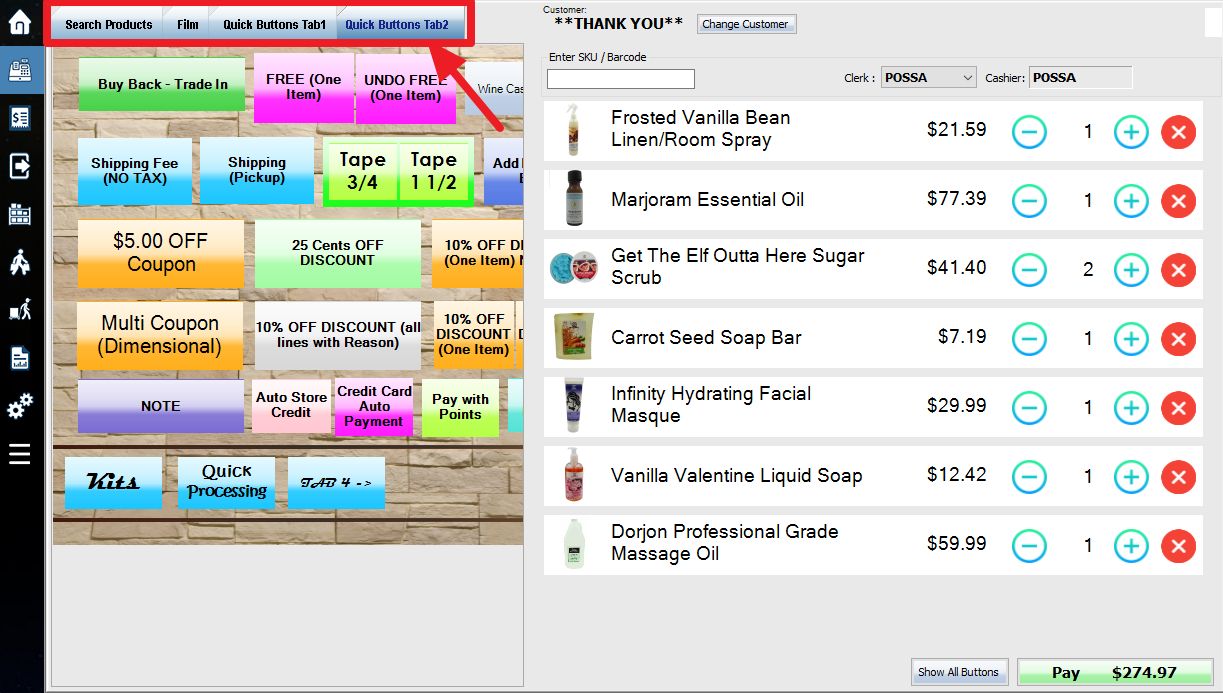
An alternative option is to click Quick Launch button again and then change the zoom level to a smaller %, simply designate a smaller % (eg 50%) and then exit the Setup QL window by clicking the X in the top right corner of the window, no saving is required.
Step 2: Quick Launch Button Options
Advanced quick launch options guides here.
Point of sale keyboard shortcut Keys guides here.
Quick launch buttons for payment types here.