Turn on the Ingenico unit by plugging in the unit or pressing the on/off button. When you first turn the machine on, give it a minute to warm up before you start configuring it.

Next, press the “F” key 5 times.

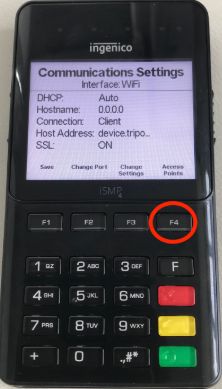
Press “F4” button to select “Access Points”.
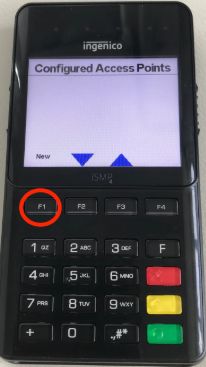
Press “F1” to create a new access point.
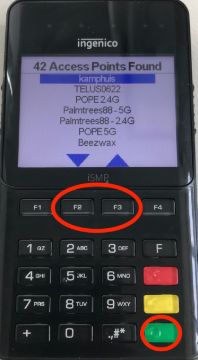
Wait for the machine to scan for available wifi networks. This may take a minute or two. Once the list of available networks is generated, use the “F2” and “F3” keys to scroll to your preferred network. Click the green button to select your preferred network.
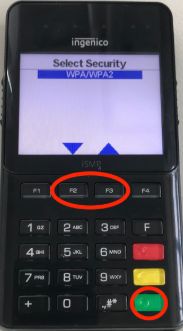
Once you’ve selected your preferred network, configured your password settings. Select the wireless security protocol you use (WPA, WEP, etc). Use the “F2” and “F3” keys to scroll to your protocol. Click the green button to select your protocol.
Now use the number pad to enter in your password. To select letters, click a certain number multiple times. For example
To select 2 – hit “2” once.
To select a – hit “2” twice.
To select b – hit “2” three times.
To select c – hit “2” four times.
To select A – hit “2” five times.
To select B – hit “2” six times.
To select C – hit “2” seven times.
When you are finished entering your password, hit the green button.

Your device will now be connected to your wifi network. The next step is to add the device activation code to POS.