1. Login into the system and access the Products menu. Select the Skus tab.
2. Select your SKU to edit the label for. Select Print Labels.
3. Label Designer Overview:
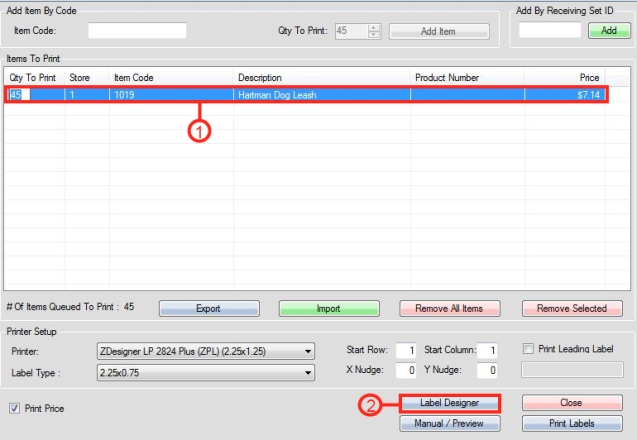
Step 1: Select the SKU in the list to edit the Labels for it.
Step 2: Select the Label Designer option to open the Label Designer Menu.
4. Label Designer Menu.

Step 1: Click Edit Existing Label, then select the desired Label Size.
Step 2: Select Edit to edit the Label for the SKU chosen in the previous steps above.
5. Editing a Label Overview:
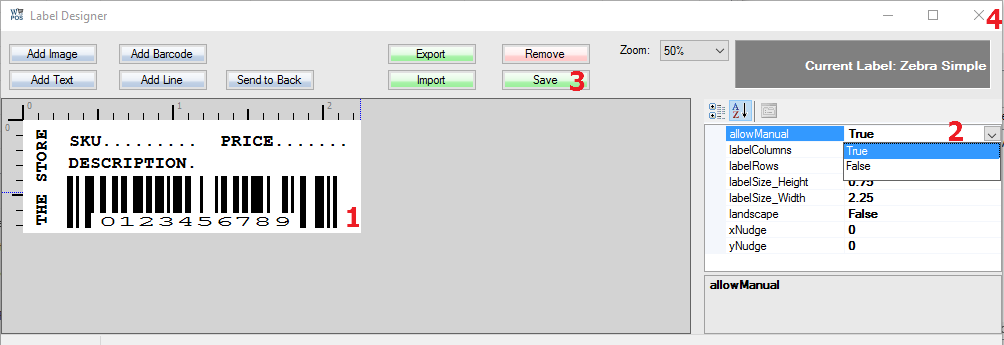
Step 1: Click blank area once to show label properties.
Step 2: Next to AllowManual, select the True option.
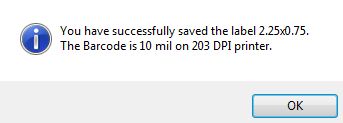
Step 3: Select Save to finalize your changes, a prompt will appear, select Ok. It will be similar to the example image below except with your own label settings shown instead.
Step 4: Click the X in the top right corner to close the editing label window and take you back to the Label Designer Overview.
6. Testing the Label options in Label Designer:
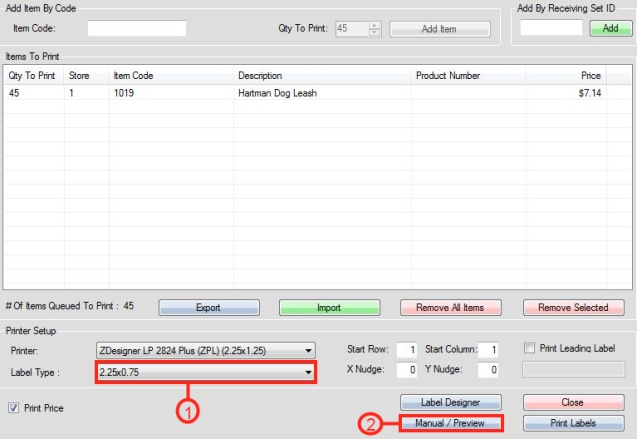
Step 1: Select the Label type that you chose to edit the label settings associated with the SKU chosen as in the image shown below. In this case the value is 2.25×0.75.

Step 2: Select Manual / Preview to test your new Label Settings.
7. Manual / Preview Screen Overview:
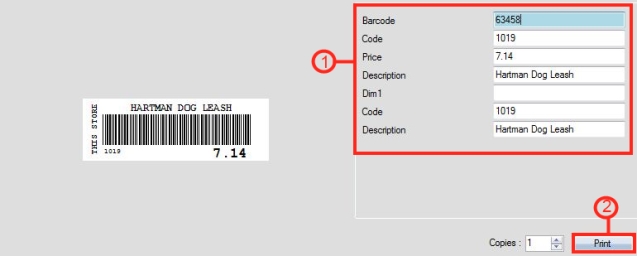
Step 1: The location where you can now manually edit your Label Settings.
Step 2: Select the Print option to print and test your new manually edited label.


