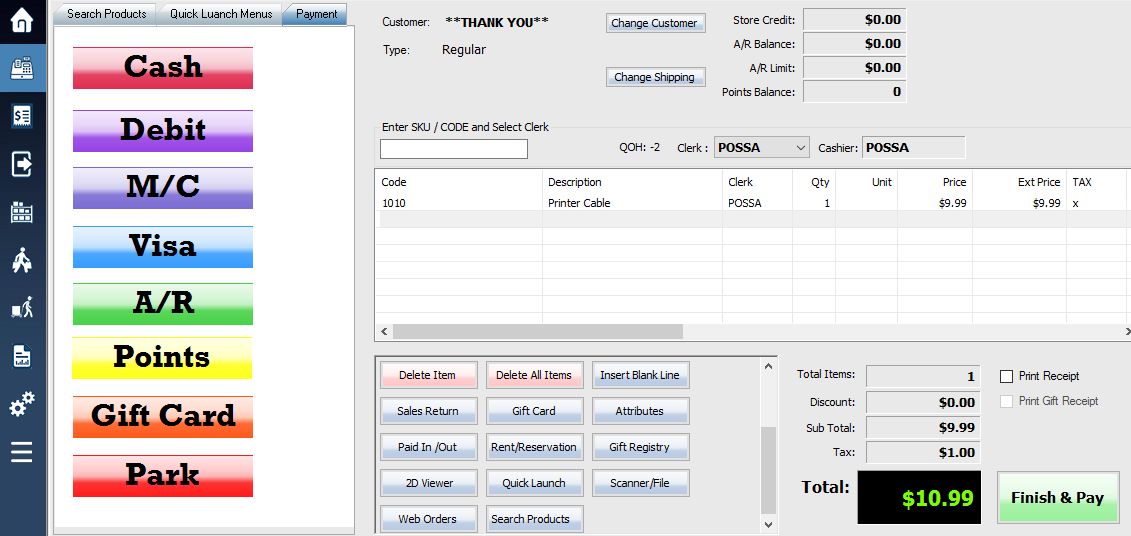
To create a Quick Launch Panel for different payment types, import the label file here (You may need to right-click and save file) into a new Tab in the Point of Sale screen. The credit/debit options have been created for use with integrated payment. If the integrated payment window is too slow, you will have to add extra {delay} before {F10} in the action line of the button. You can also remove {Delay} if the payment window is waiting for the F10 enumeration.
Note: If you name the tab “Payment”, it will automatically go to the tab instead of the payment screen when you click the Finish & Pay button.
**Note** You can bypass this quick launch tab and still open the default payment window by repeatedly clicking on the green Finish & Pay button 3 times.
Example action syntax:
{Payment}A/R{Delay}{End}
{Payment}Visa{Delay}{End}
{Payment}M/C{Delay}{Delay}{F10}{End}
{Payment}Park{Delay}{End}
Also note, if no integrated payment is setup, the transaction will automatically complete after pressing the button for the selected payment type. If there is integrated payment, the POS automatically pushes the sale total to the pin-pad on its own.
Surcharge
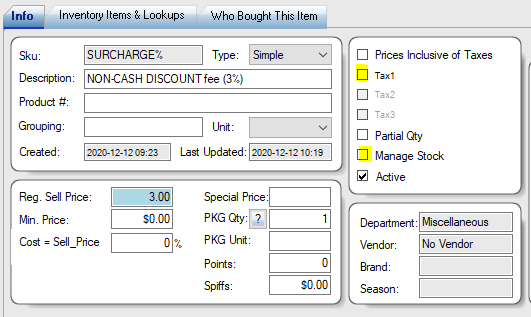
Surcharge normally can be set up on the pin pad (or processor’s back end). If not, you can set it up here:
Create a new SKU “SURCHARGE%”

Use this as quick launch button action:
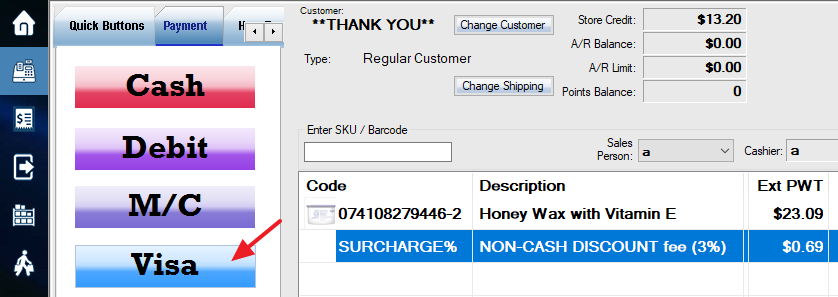
SURCHARGE{D5, Shift}{Enter}{Delay}{Delay}{Payment}Visa{Delay}{Delay}{F10}{End}
The surcharge will be automatically applied when clicking the payment button.

Cash Discount
Just create an SKU called “CASHDISCOUNT%“, replace the word SURCHARGE with CASHDISCOUNT above, the quantity will be automatically set to -1 (negative). You will be able to do cash discount.
Change Currency
If you have the currency abbreviation in payment settings (bottom), you can use this in the quick launch button to change the currency of items and POS totals.
{Currency}Base
{Currency}USD
{Currency}CAD

