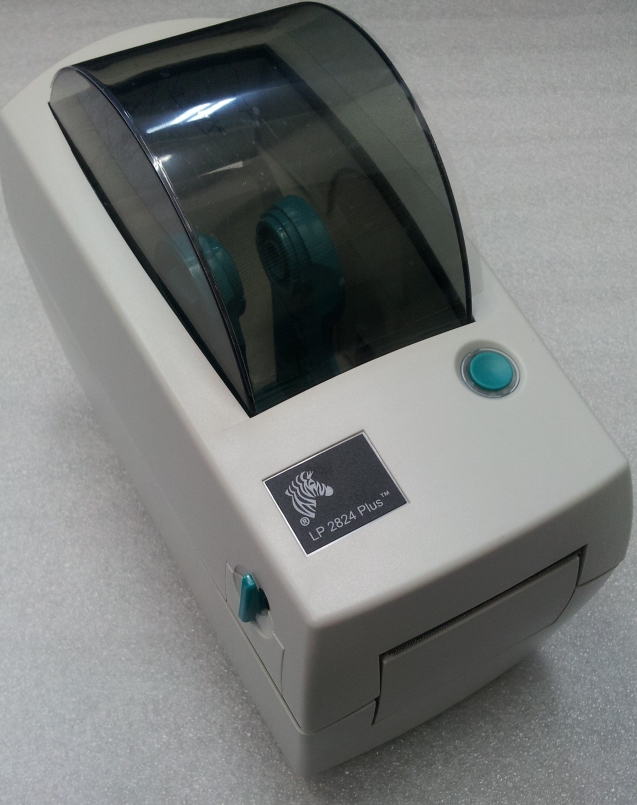
1. First place the printer in a comfortable, flat position to begin setting it up.
2. On either side of the Zebra Label Printer, pull back the slide to open the lid cover.
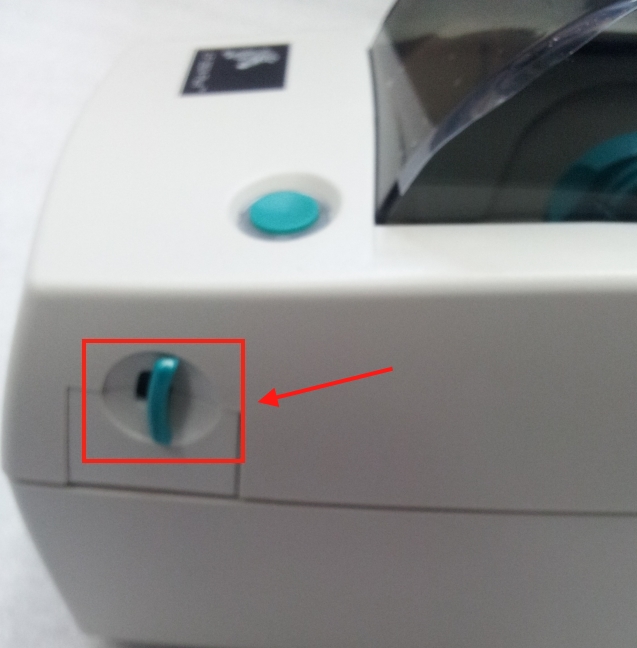
3. After the slide has been pulled, pull the lid back to open the Zebra Printer and gain access to the label feed.
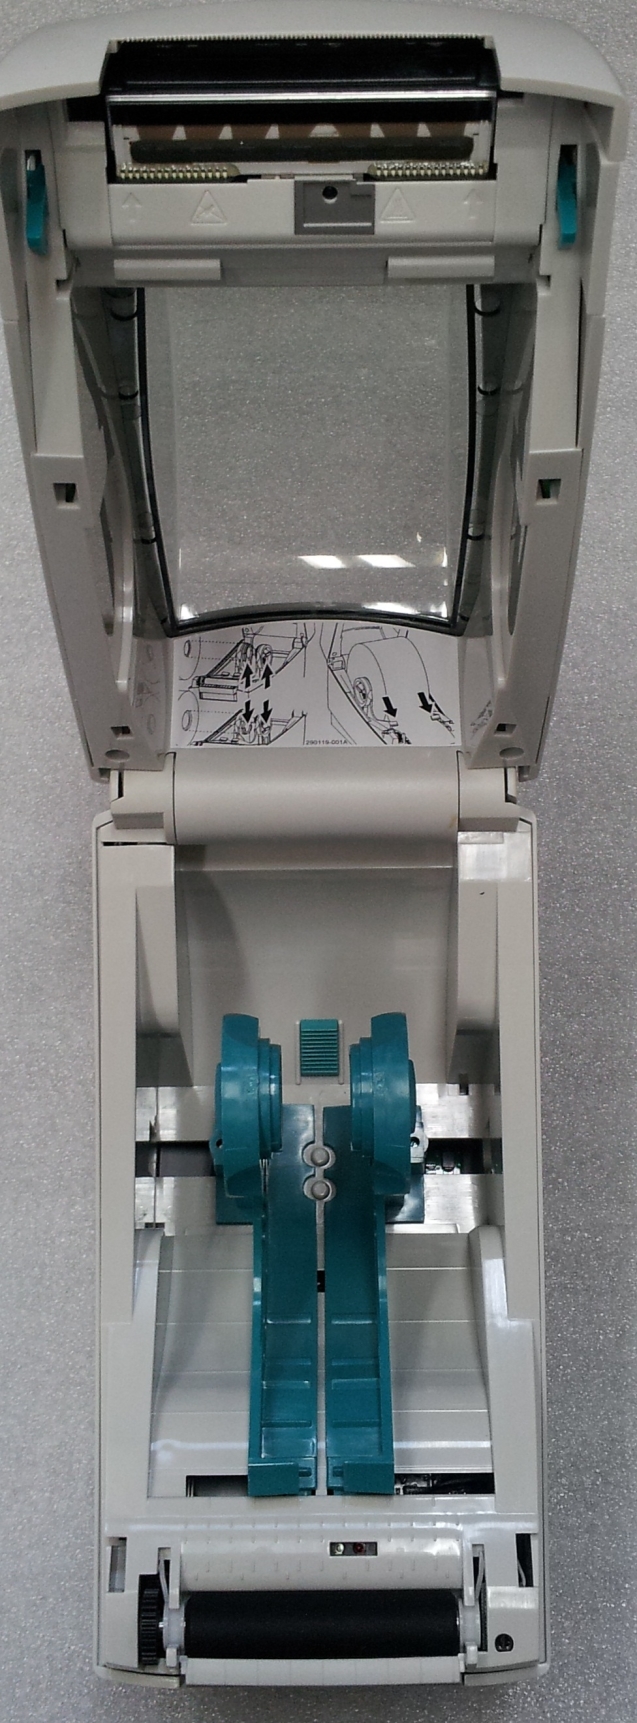
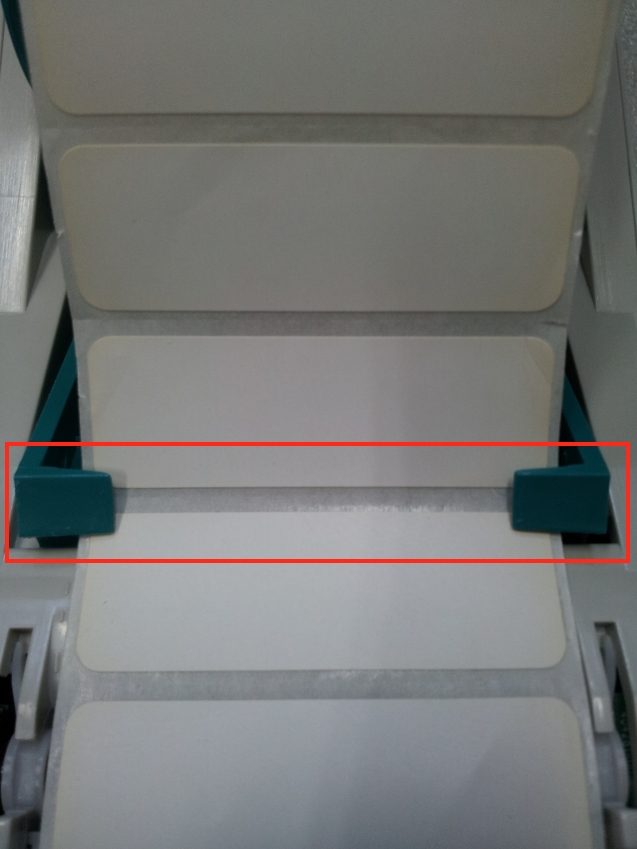
5. Pull the two slides within the printer back and place the labels inside as shown in the image below.
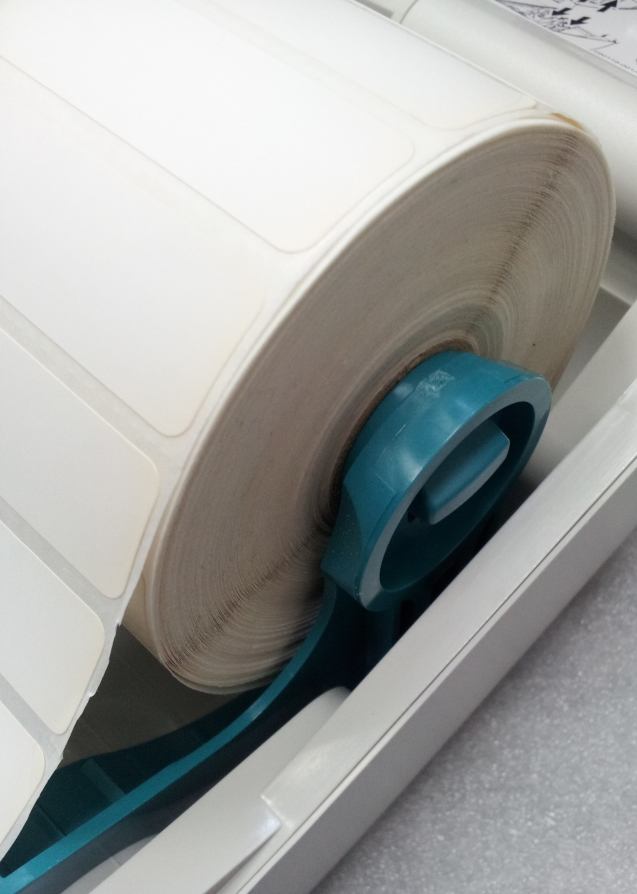
6. Ensure that the labels are facing you and are fed through the feeder as shown below.
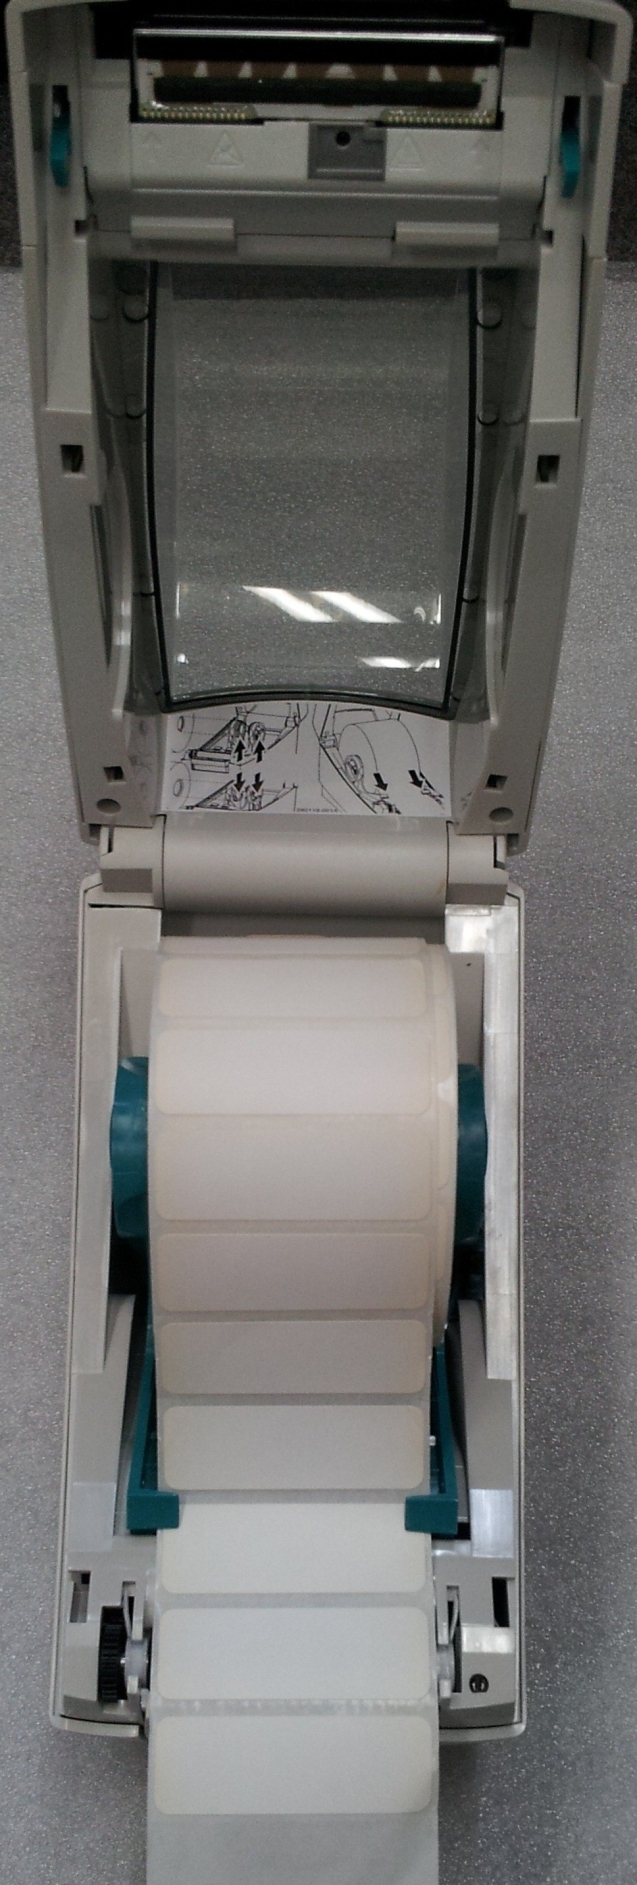
7. The image below is how the label printer should appear at a glance with the labels inside and setup properly.
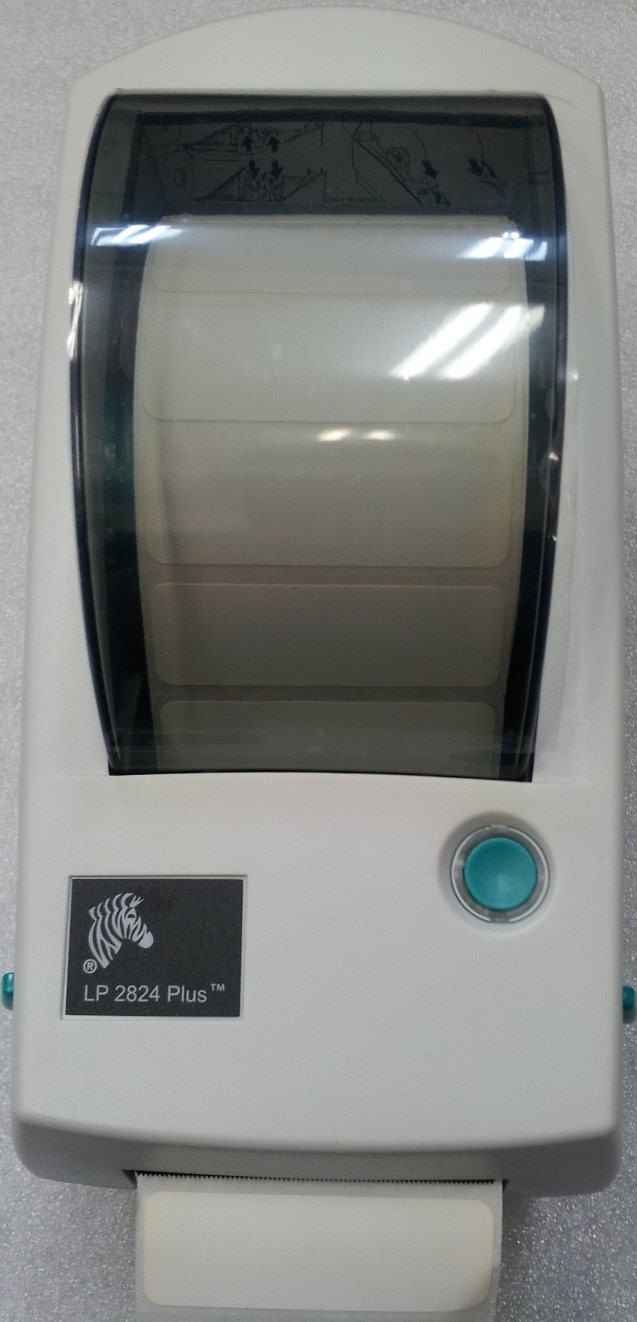
8. Next, close the lid.
9. Plugin the required cables into the slots on the back of the Zebra Printer as shown in the image overview below:
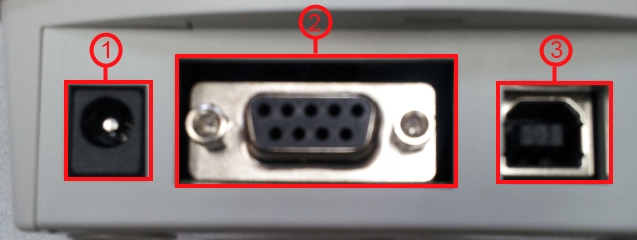
1. Plug in the power cable with the respective proper end of the cable, while the other end goes into an AC socket.
2. This is the serial port for plugging the printer to the computer instead of using the USB cable..
3. This is the USB port. Plug in the respective end into the slot shown and the other into your WooPOS device (computer, etc.)