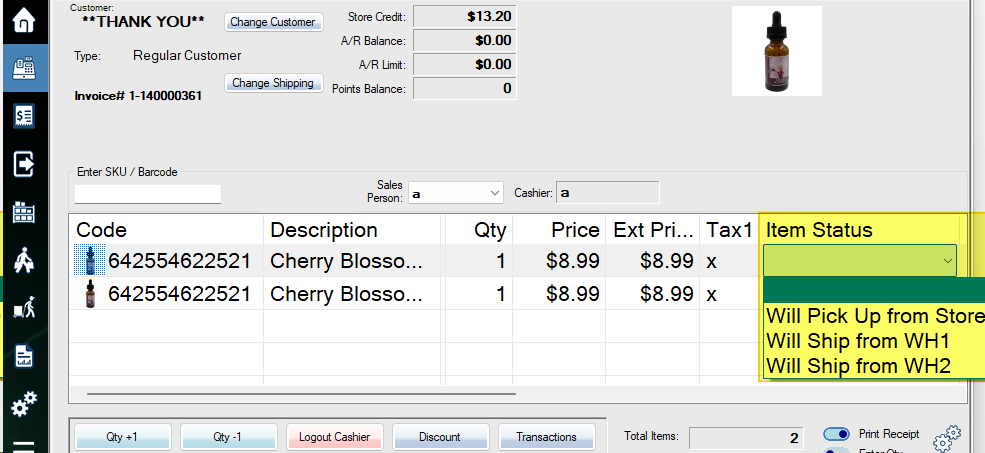
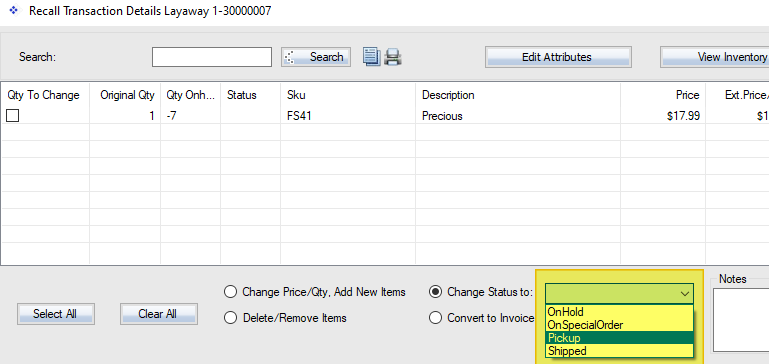
Other than the default OnHold and OnSpecialOrder item status types that are located in the recall transaction screen, you can also add new item status types that are specifically called what you want. For example, you can create a status type called “Pick Up” that could designate an item is ready to pickup after being on special order. You can set these new item status types in the Setup menu under the Stores tab, or simply follow the guide below.
To see how the advanced recall transaction screen functions first, see the Advanced Recall Transaction Functions guide.
1. Log into the system, and then access the Setup menu.
2. Enable switch 029.
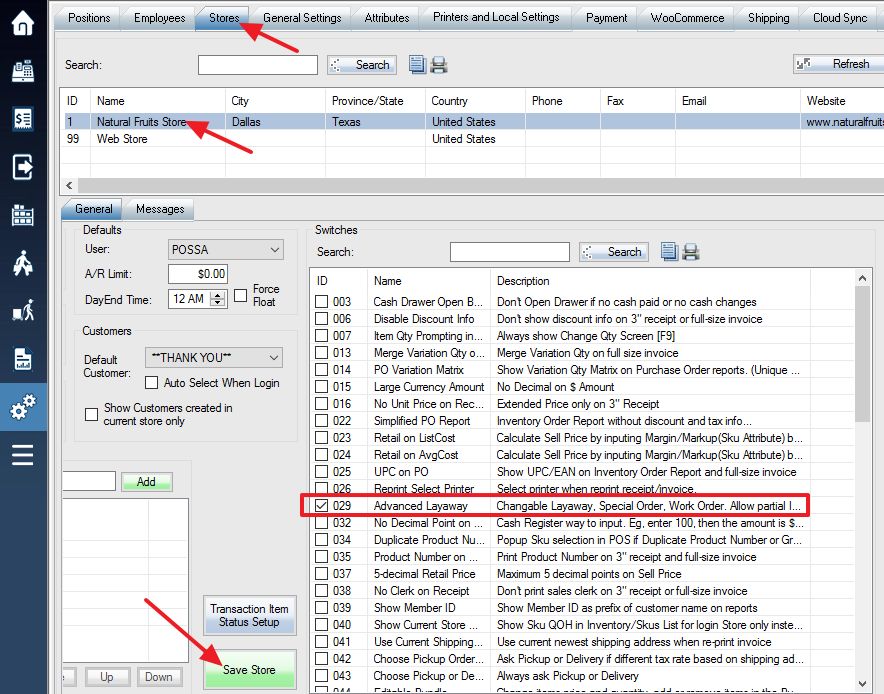
3. Select the Transaction Item Status Setup option.
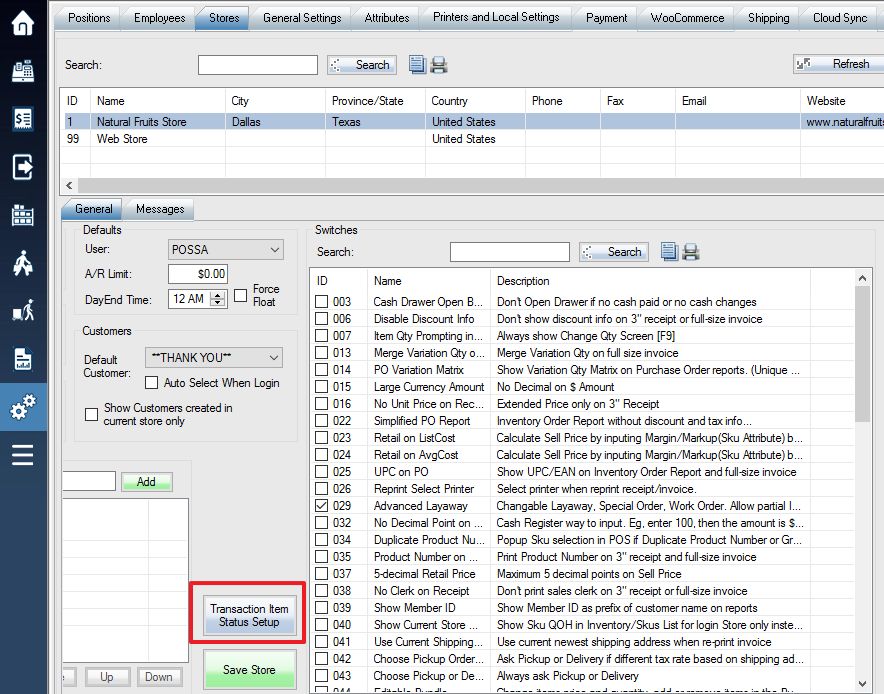
4. Overview of the Transaction Item Status setup window:
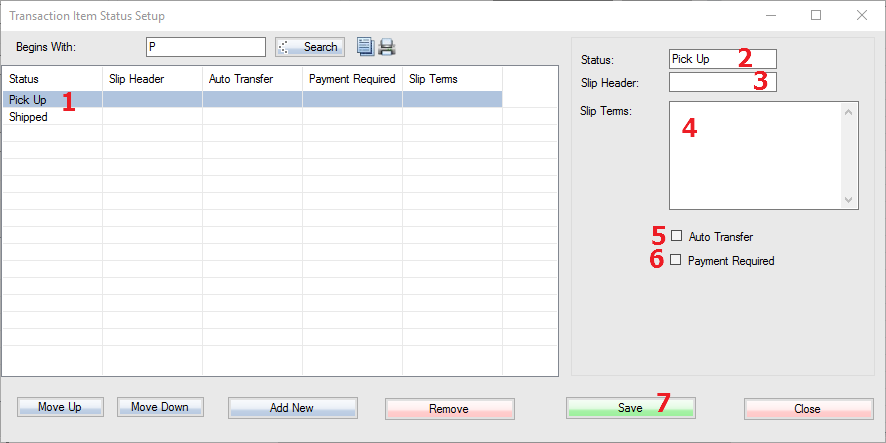
Step 1: The location of your created transaction item statuses.
Step 2: Under the Status field, type in the name you want to give your new item status type.
Step 3: The next field called Slip Header is to designate the header (or title) name to appear on the work order (similar to invoice) that would be kept by the retailer and/or given to the customer.
Step 4: The Slip Terms field is for displaying any text that you want to appear in the terms section at the bottom of the same work order as step 2.
Step 5: **Requires you to enable the switch ID 052 to work** The optional Auto Transfer function will prompt you during a status change to automatically transfer quantity between different store locations. For example, if an invoice is issued at one store for a layaway, but that layaway is completed at another store location, the auto transfer function will automatically transfer the quantity to the store with the pick up occurring.
Step 6: The optional Payment Received function will prompt you during a status change if a layaway has not been fully paid off first, and will display the remaining balance required on the layaway.
Step 7: Select Save to save the changes made above. Your new item status created should appear in the left-hand column under the column titled Status.
5. If you wish to add another status type, then simply click the Add New button located at the bottom of the screen and repeat the process above.
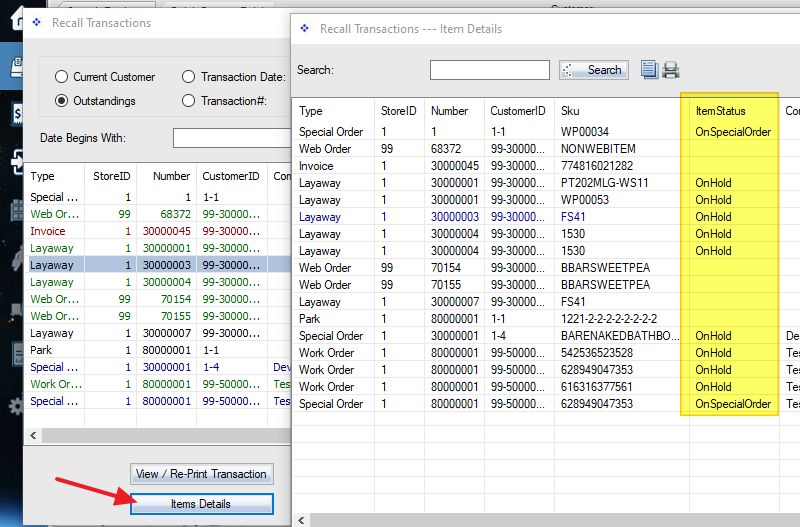
The status should show up in POS or when you recall the transaction.