If you would like, you can assign a point system to all or certain items within your inventory. When a customer purchases items that contain points, the points will accumulate over time. Once the customer has accumulated a certain number of points, they can then use these points for a future purchase.
1. To apply points to an item, first Login into the system and access the Products menu. Select the Skus tab.
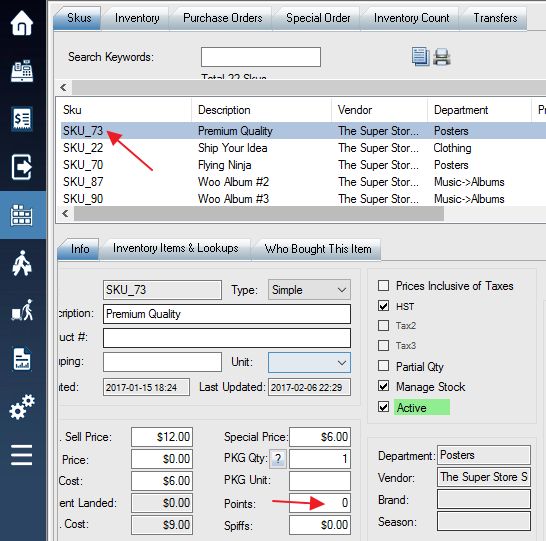
2. Now select the sku to which you would like to apply the points, which will insert the item’s information into the bottom window. Next, click on the Points field.
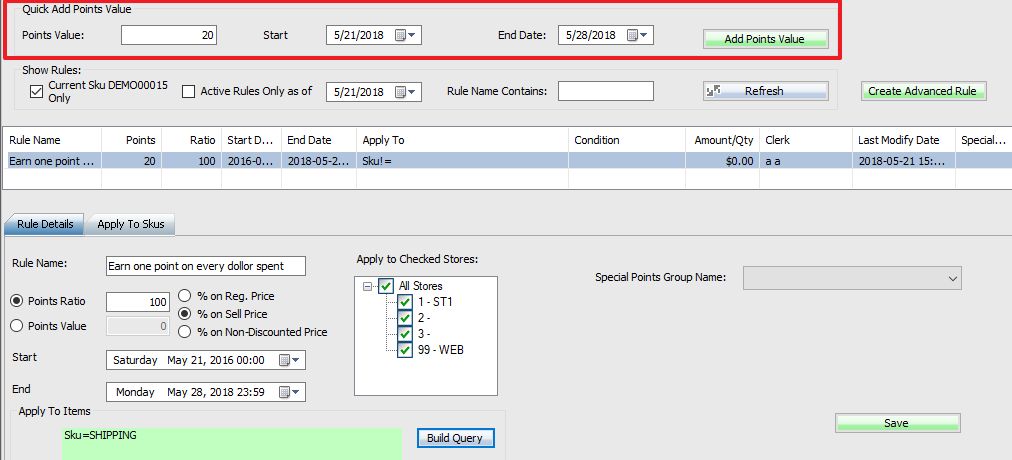
4. This will bring up the Customer Points Rule Editor window. To add a set amount of points per item purchased, use the Quick Add Points Value section at the top.
1). Enter a number of points awarded to the customer per purchase of current product.
2). Set the start and end dates of your points award.
3). Click Add Points Value to add the points to the item.
5. You can create more detailed points rules using the Create Advanced Rule button. This will add a blank rule to the rule field, which you can then select and modify using the Rule Details window below.
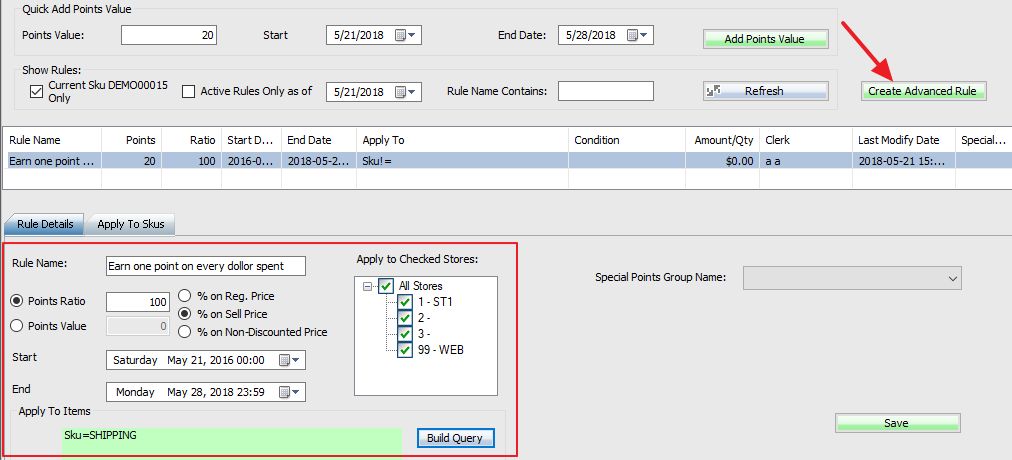
6. From here there are several values you can edit.
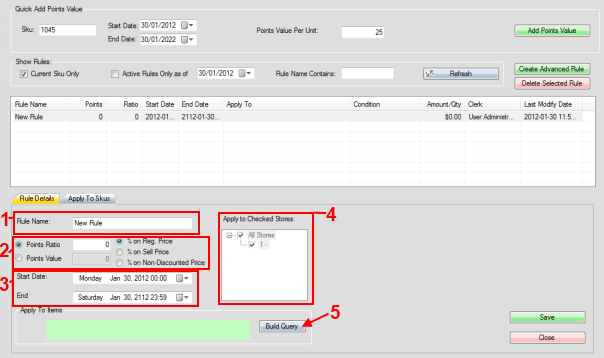
1). The Rule Name field will allow you to set a unique name for your new points rule, allowing you to easily look it up later.
2). Select the Points Value checkbox in order to enter a set number of points for this rule, or check the Points Ratio button to have the amount of reward points given be a percentage of the item’s price. From this selection, you have the option of using a percentage of either the regular price, the sell price, or the non-discounted price.
3). You can set the start and end dates for which your points rule will apply.
4). You can have the points rule apply to all or only certain stores, if applicable.
5). The Build Query button will allow you to select from even more specific rules for your points, such as only awarding them to VIP customers, or applying the rule to all SKUs higher than 1000. Use SKU!=(SKU not equal to blank) if you want points to apply to all products.
(see: Building a Query)
7. Once you are satisfied with your selected rules, use the Save button to save, and then Close to close the window.
8. The next step would be to access the Setup Menu and go to the Payment tab to set up the points exchange values.
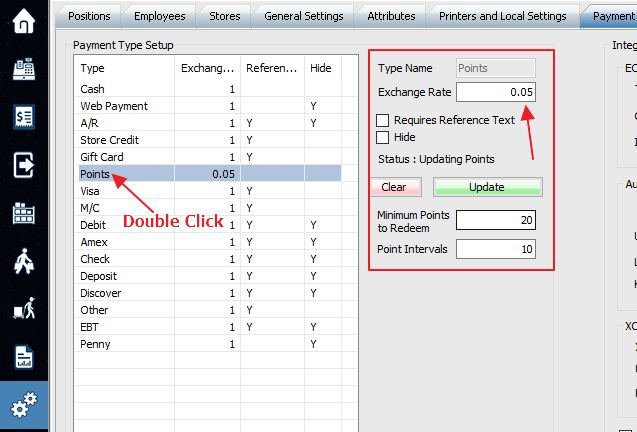
1). Enter an exchange rate for points to use. In this example, 0.05 means 100 points equal $5.00
2). The Minimum Points to Redeem option designates the minimum amount of points required before a customer can spend any points. For example, if you set it to 20, but the customer has less than 20 points, they cannot spend any until they pass the minimum points threshold.
3). The Point Intervals option designates the interval value at which points are spent. For example, if the value is 10, a customer can only spend points in groups of 10, 20, 30, etc.
4). Select Update to complete the changes.
To redeem points, type in points amount or hit INSERT key from the keyboard.

Related articles: Adjust points, Use points in WooCommerce, Import Points from Excel file, Convert Points to Coupon