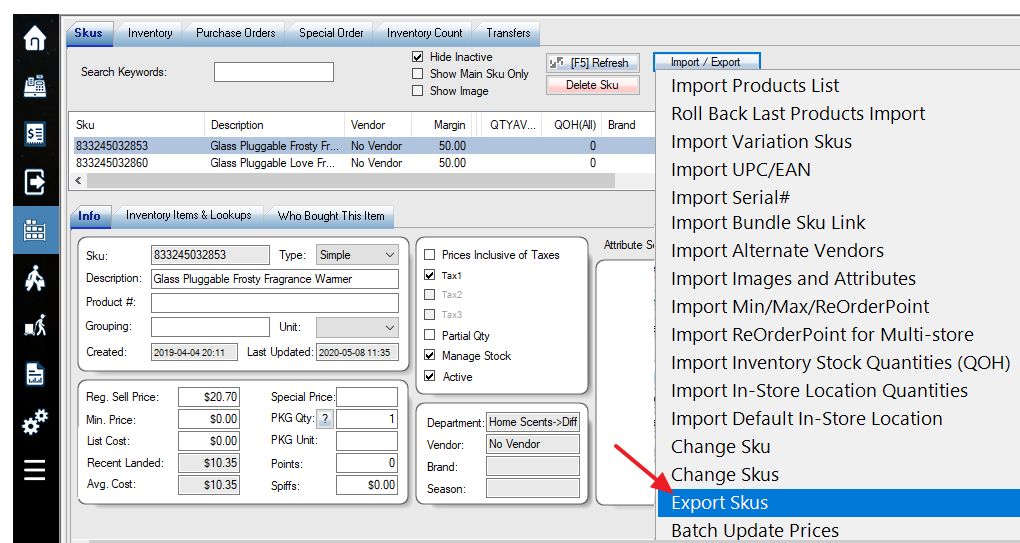
1. Download the Excel template file here. Or create your own CSV template by exporting the SKUs list.
2. Open the Excel file. Make sure that the cells contain only values, no formulas. Make sure the date is in mm/dd/yyyy or yyyy-mm-dd format.

Overview of Excel fields for SKU:
SKU: Numerical or alphanumerical format and is a placeholder for inventory that is setup in a sequential counting manner. (example: 1005, 1006, 1007, 1008 or abc001, abc002, abc003, etc)
VariationSKU: Fill in the column if the SKU has variations like color, size. You leave this column blank.
AttributeSetName: Attribute set is a set of attributes. (example: color and size)
Description: The description of the SKU. (example: Levies 501 Jeans) max char. 500 (all characters will import)
ProductNumber: The product number associated with the item, or vendor product number. Or in the clothing industry, this would be considered a style number. (example: 52363) max char. 51
GroupName: The group for which the SKU belongs to. (example: Bottomwear) max char. 50
UnitName: If it is a partial quantity, the UnitName designates what unit of measurement it will be. (example: Grams) max char. 5
Vendor: The vendor associated with the SKU. (example: ClotheManu Inc) max char. 50
Brand: The brand associated with the SKU. (example: Levies) max char. 100
Department: The department to be designated for the SKU. (example: Clothing) syntax for sub-department: Clothing->Pants. (max 25 char per department name or max char. 50 total)
Season: If there is a season associated with the SKU. (example: Summer)
PriceIncludeTax: Does the price of the SKU include tax already applied to it? (example: “Y” which means Yes or “N” which means No).
Taxable1: Where Tax 1 is applied or not. (example: “Y” which means Yes or “N” which means No)
Taxable2: Where Tax 2 is applied or not. (example: “Y” which means Yes or “N” which means No)
Taxable3: Where Tax 3 is applied or not. (example: “Y” which means Yes or “N” which means No)
PartialQty: Associated with an item that is not sold as a whole number, such as a steak that is sold by its weight in grams. (example: “Y” which means Yes or “N” which means No)
ListCost: The price of the SKU purchased from the vendor.
Price: The retail default price of a SKU that is sold to a customer. If you have PriceIncludeTax set to Yes, the price should includes the taxes. Please set up taxes in store settings before importing the Excel file.
Active: Whether the SKU is active and available for sale. (example: “Y” which means Yes or “N” which means No)
PackageQty: For individual items, package quantity will be 1, but if you have a packaged item such as a 6-pack of Soda, then the package quantity will be higher.
PackageUnitName: The name of the package unit type used to hold multiple items. (example: box, case, etc)
MinPrice: Import the minimum value that the SKU’s price cannot sell lower than
SalePrice: Quick (without setting up special price rules) sale price before tax
SaleStarts: Sale price start date (example: 2016-01-31)
SaleEnds: Sale price end date (example: 2016-12-31)
ProductType: Designate the type of SKU that you are importing. Available options: Simple, Variable, Grouped, Bundle, Assembled, Rental
ManageStock: Designate whether to track inventory quantities. Fill in “N” (No) if the product is a service which has no physical inventory (example: “Y” which means Yes or “N” which means No)
UpcEanLookup: UPC or EAN or any other barcode lookup code. Use ; to separate multiple codes. eg: 19916004149;19916004187;19916004293
QOH: Import the quantity on hand of the SKU (example: 6)
GPCostPercent: Gross Profit Rate for service (ManageStock: No) SKU
Currently, the 5 last columns in the excel template are for your custom attributes. Replace the column title Attribute 1,2,3,4,5 with your own desired attribute names. Add as many columns as you need and delete the one you do not need. However, ensure that the attribute name you add in the file exactly matches to an existing custom attribute in WooPOS. If it is not the case then you must create the attribute (and the attribute set name) in WooPOS before to execute the data importation otherwise WooPOS will not know where to put the data.
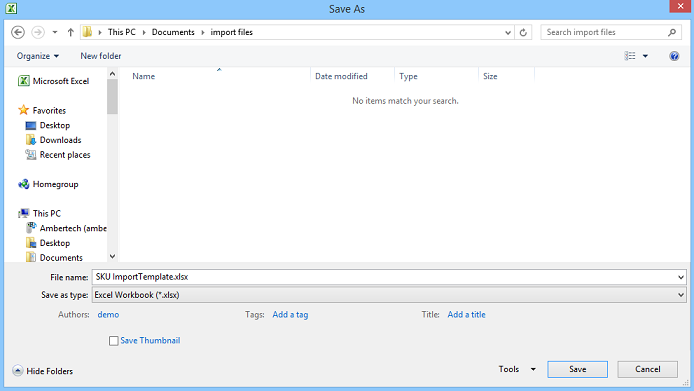
3. Go to File in the top right corner of the screen and select Save to save your excel file.
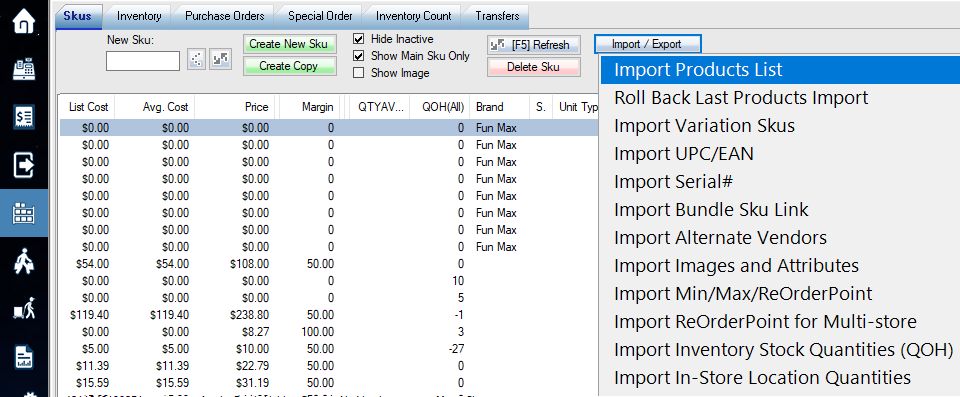
4. Select Import / Export under the Skus tab. Select Import Products List.
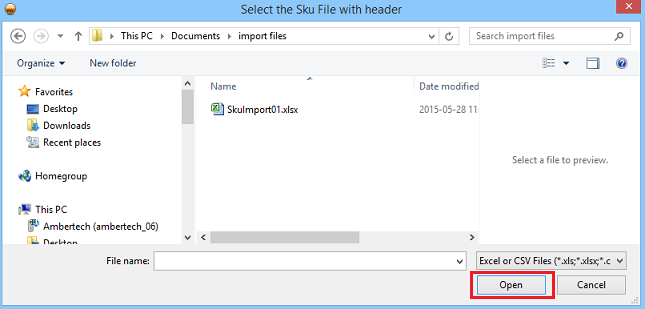
5. Select SKUImportTemplate
6. Match the columns

Step 1: Ensure that the fields on the left match the fields on the right identically.
Step 2: Select OK to proceed with the import.
7. Notepad will open with the result of the import.
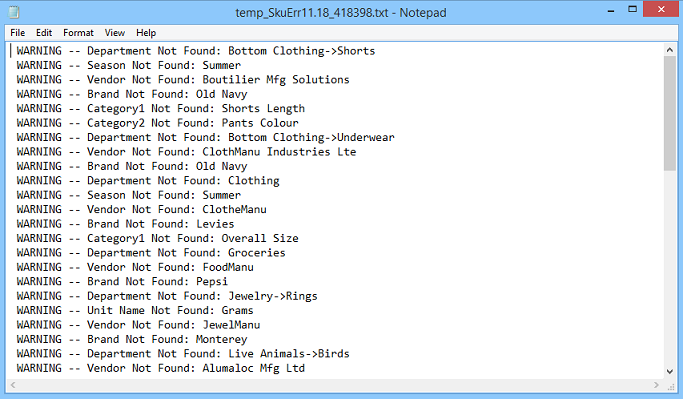
Warnings indicate notification that values don’t exist though they will be created upon import.
Errors indicate the conflict with data in the import file and aren’t formatted correctly.
If you want to revert the import changes you made, select Import SKUs again, then select Roll Back Last SKU Import in the drop-down menu that appears.
Stock quantities (see bottom) and Attributes and images can be imported separately.