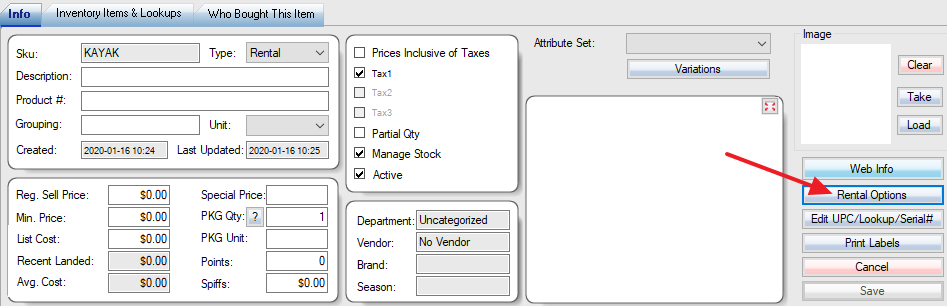
1. To set up the rental reservation, first, create a new SKU. Select RENTAL as product type.

2. Change the available quantity for rental.

3. Setup rental options.
4. Setup the time frame.
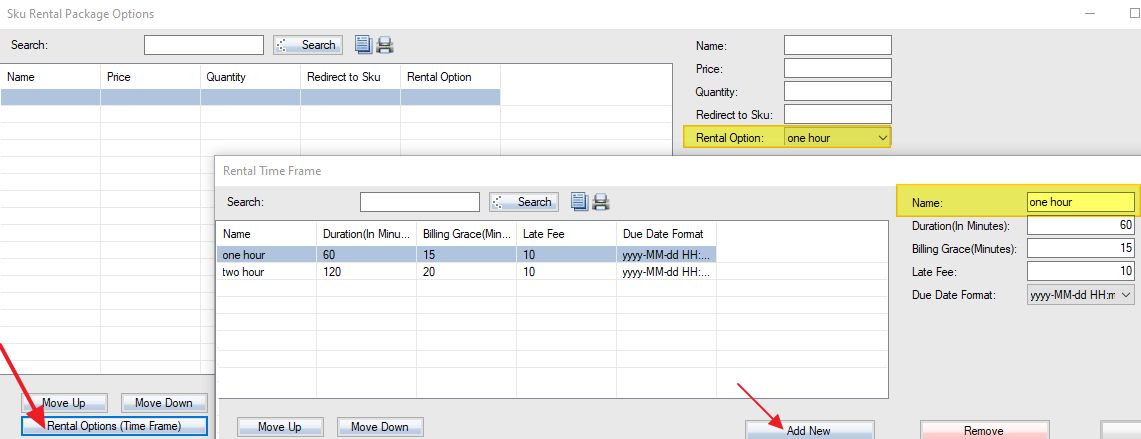
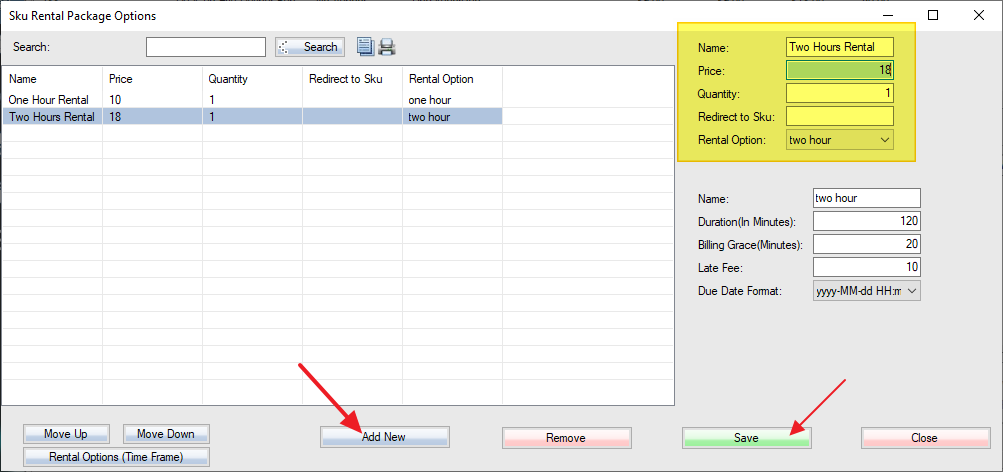
5. Add rental options for the SKU.
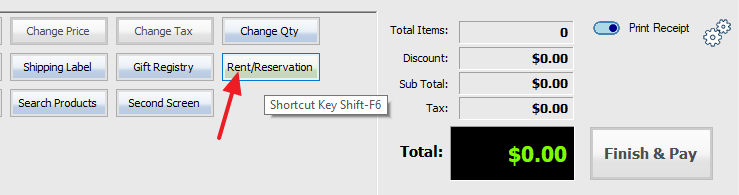
6. Click “Rent/Reservation” in POS front end.
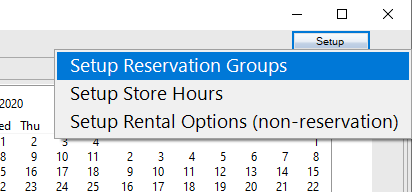
7. Select “Setup Reservation Groups” from Setup.
8. Add and set up at least one reservation group.
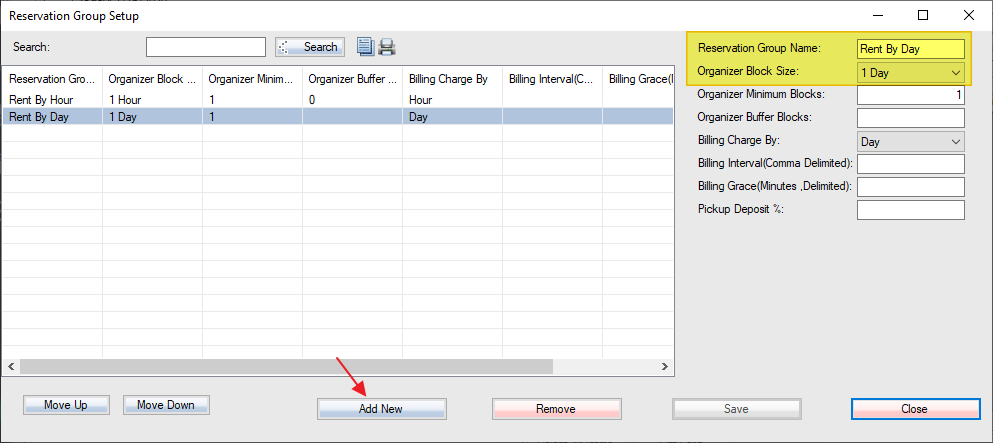
Reservation Group Name: this name will show up on the tab header (see step 11) and items in this group will show up (see step 9)
Organizer Block Size: select time blocks for reservations (see step 13)
Organizer Minimum Blocks: if it’s an hourly rental, set this value to 2, it means a minimum of 2 hours rental.
Organizer Buffer Blocks: the buffer time between last return and next pickup.
Billing Charge By: billing charge time unit.
Billing Interval(Comma Delimited): if you do 3,7, and 10-day rentals, just put 3,7,10. If someone rents for 8 days, it will charge 10 days.
Billing Grace(Minutes ,Delimited): late grace period in minutes for billing intervals. Putting 360,360,360 means no late warning message or charging late fee within 6 hours for 3,7, and 10-day rentals.
Pickup Deposit %: the percentage of rental price as deposit required before picking up.
9. If you have more than one reservation group, you need to set up a “Reservation Group” attribute for the SKU.

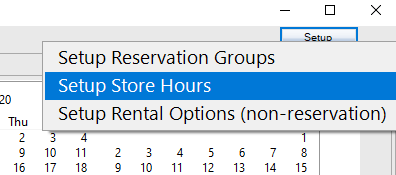
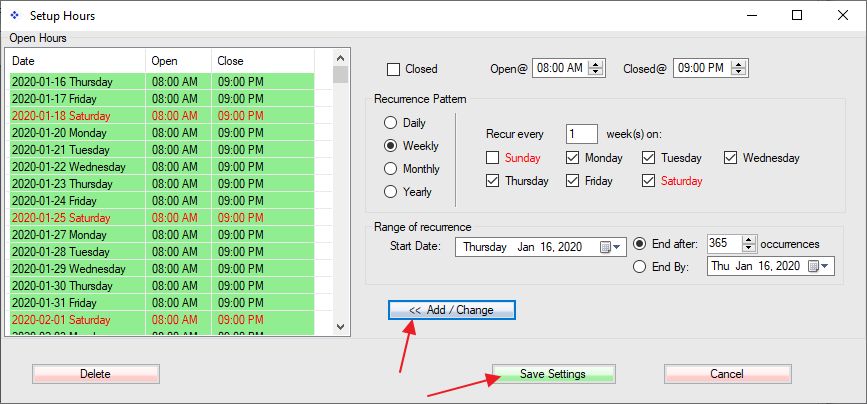
10. Setup store hours and open days.
11. Reservation Group will show up on top of the screen.
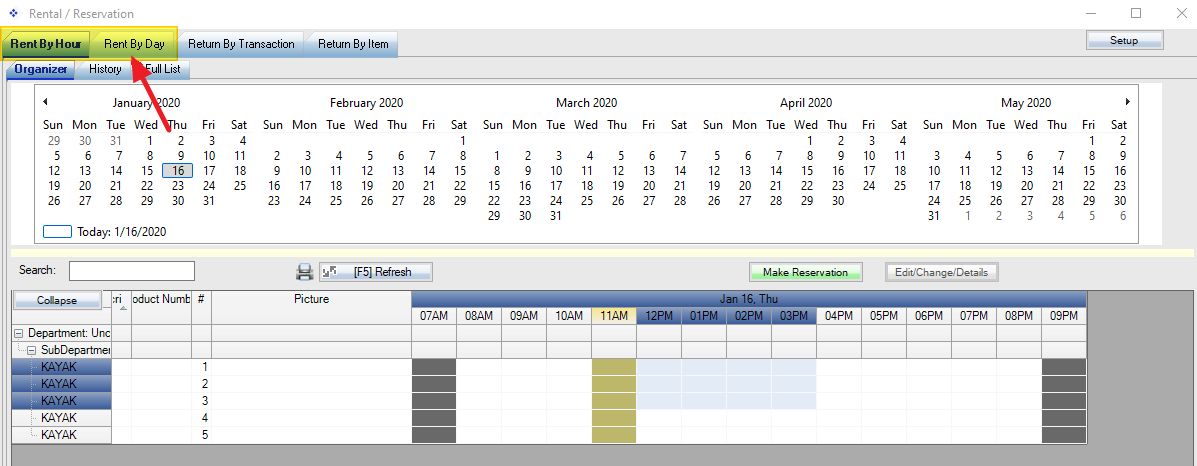
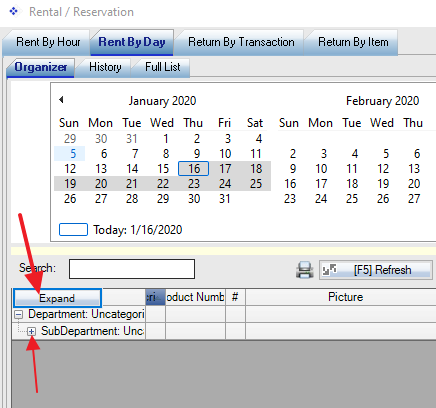
12. Rental SKUs with quantity on hand greater than zero will show up here.
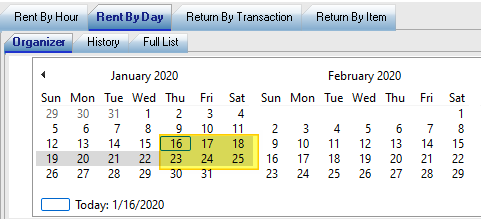
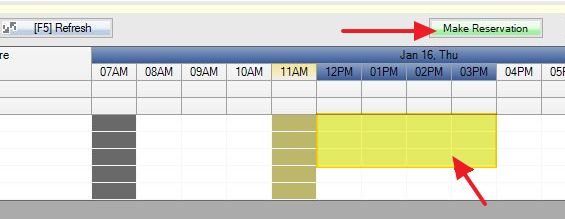
13. Hold the mouse left button and drag to select the date or time. Click “Make Reservation”.
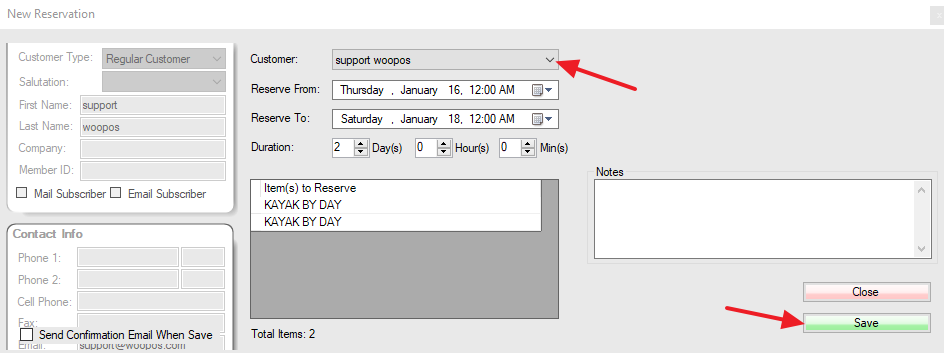
14. Select the customer and confirm the time.
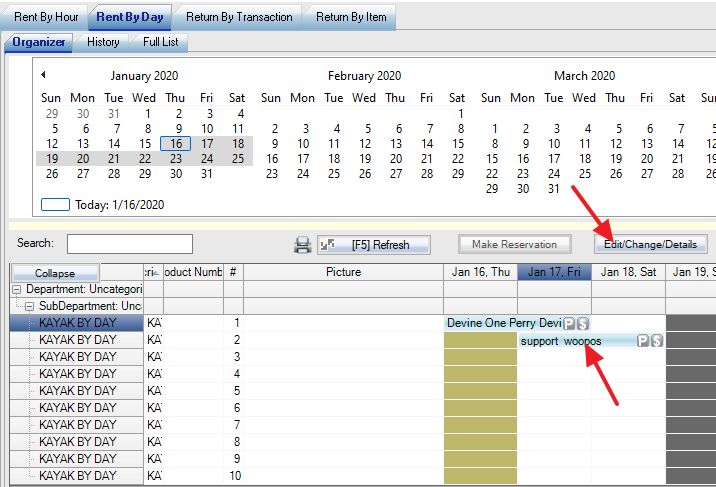
15. Doube-click or click “edit/change” to edit or view details.
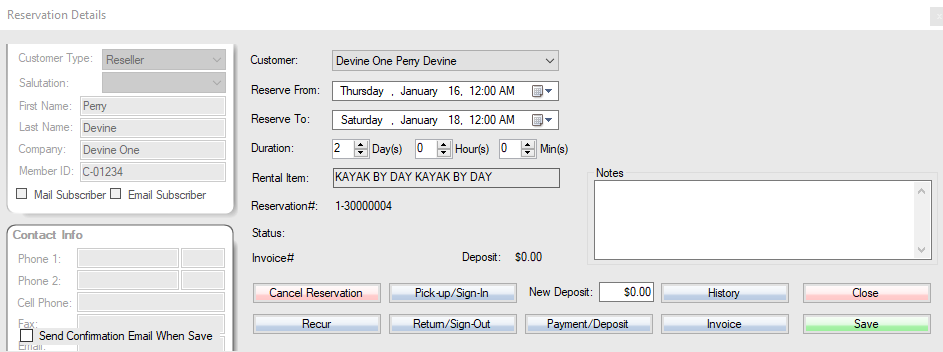
16. Reservation functions.
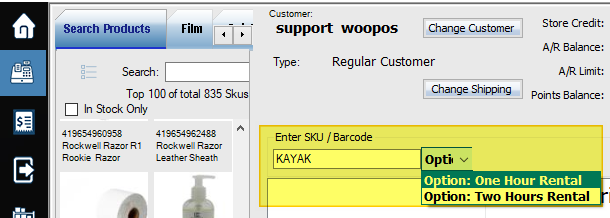
** If you don’t use reservation/booking, just set up steps 1 to 5. Type in the SKU in POS, the rental options will popup.