All reports can be sent by email at the scheduled time.
Prerequisite: (1) At least one WooPOS is required to running at or after the scheduled time. (2) The email server (see the last picture) must be set up.
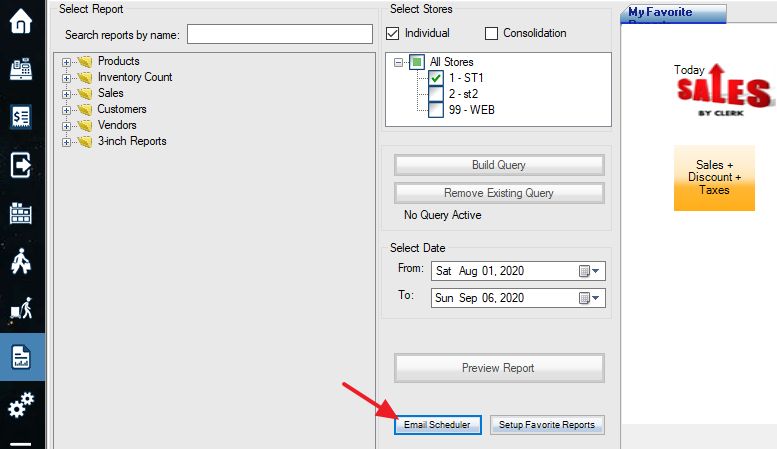
Click the “Email Scheduler” button in the report section.
Click the “Add New” button.
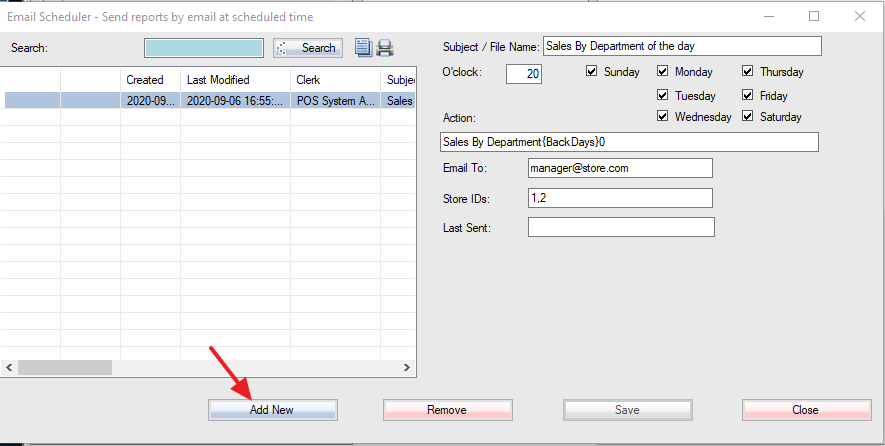
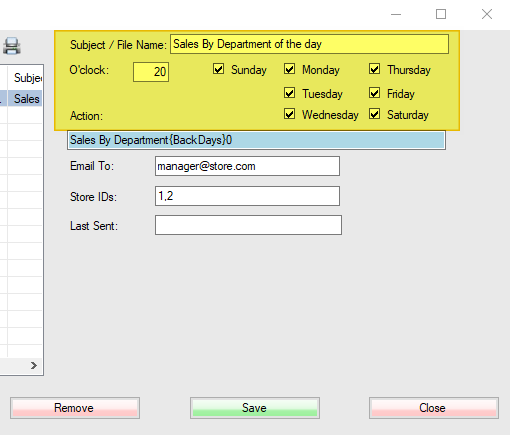
Add Report name and scheduled time.
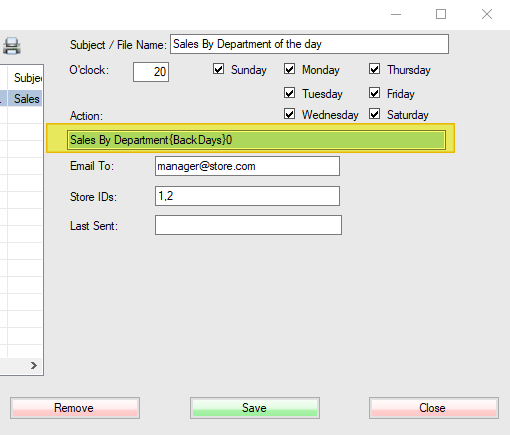
Add the report action. This is the same as the favorite reports setting.
Add your email address to accept the report. Put store IDs (comma delimited). Put store ID 0 for consolidations.
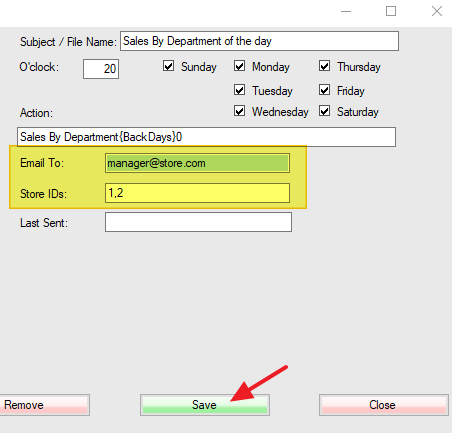
In this example, O’clock 20 means 8 pm.
Repeat the above steps to add more reports.
All reports can also be accessed from the web browser on your mobile phone.
